


What We’ll Be Covering
Starting a vinyl collection stayed simple when the early decisions were easy.
Most beginners ran into problems for predictable reasons, and in today’s game, it’s no wonder either (though for markedly different reasons, I would argue). They used to buy the cheapest turntable available, then assumed the format sounded worse than it should, bought used records without knowing what to check for, and then got stuck with noisy copies. They skipped basic storage and cleaning, then watched new purchases degrade fast. And all of this was the OLD way of doing things…
Vinyl is making a comeback, both according to the masses on Reddit and data as well, but the problem with vinyl’s resurgence in 2026 is that there’s just so much dang information out there on how to start a collcetion, where to buy it, and everything els and it can be hard to know what to actually do when you’re staring a vinyl collection.
This guide covered the essentials: a setup that played records safely, a buying approach that avoided wasted money, and a care routine that kept your collection in good shape.
Step 1: Build A Playback Chain That Tracks Correctly
A starter turntable needed two things: correct tracking and a clear upgrade path. In practice, that meant a tonearm with an adjustable counterweight, anti-skate, and a cartridge or stylus that you could replace. Those features reduced distortion and prevented unnecessary record wear.
The next detail was the phono stage. Every vinyl setup needed one, but it only needed one. Sometimes it lived inside the turntable, sometimes in a receiver, sometimes as a small external box. The important part was knowing where it was in your chain so you did not accidentally run two phono stages at the same time.
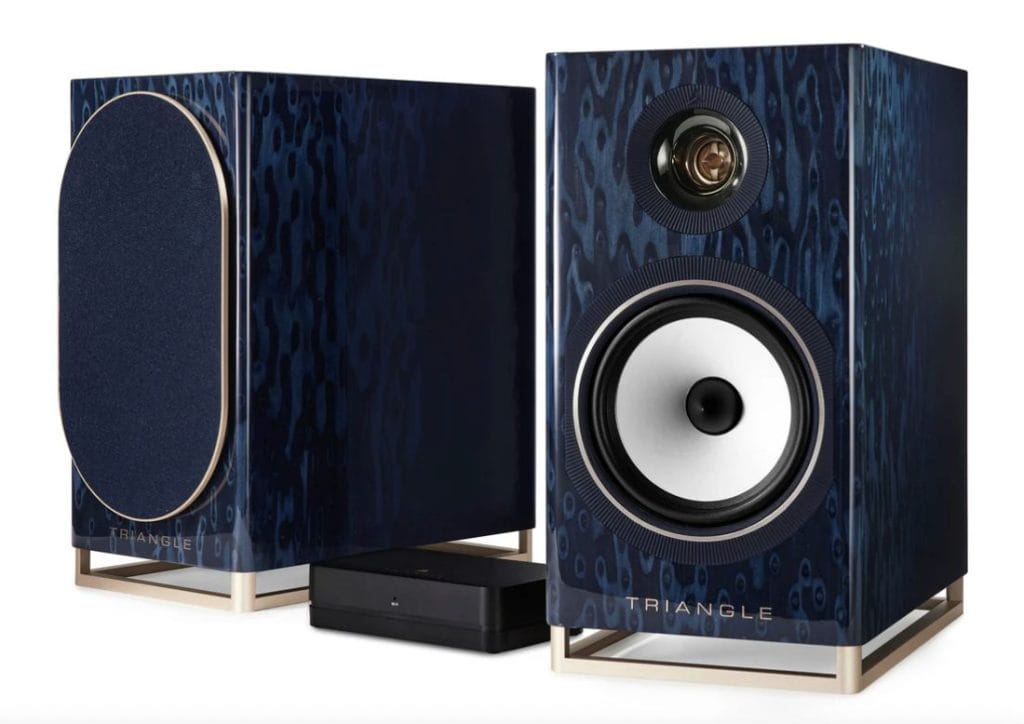
Speakers mattered as much as the turntable. Vinyl sounded underwhelming on weak speakers, and it led people to blame the record. A basic pair of powered speakers, placed correctly, usually outperforms most “all-in-one” bundles.
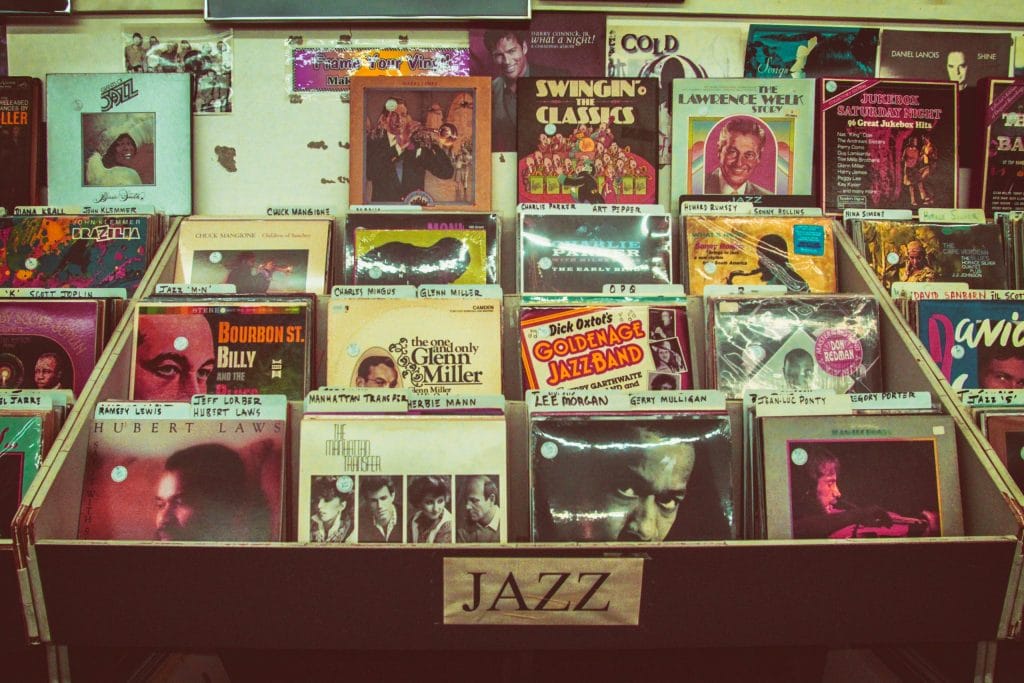
Step 2: Buy Records With A Purpose
Collections built faster when you decided what you were collecting for. A practical starting plan was to choose a small set of albums you already knew front to back, then add a handful of records you wanted to learn in full. That kept the collection personal and made it easier to notice when something sounded off.
New pressings reduced risk. Returns were easier, grading was simpler, and the chance of groove wear was lower. Used records could be a great value, but condition became the entire game. If you bought used online, your success rate depended on grading quality, accurate photos, and a return policy.
Limited variants and collector drops were fun, but they worked better later, once your setup was dialed and you already knew what you cared about owning. I’ve actually written a number of articles for Victrola’s blog, so while I am a bit biased, I can also say that they’re great resrouce for finding new vinyls to snag as well (I haven’t written anything for them in a year or so, but I do love checking in on waht they’re publsihing still cause I always find good vinyls).
Step 3: Learn The Basic “Good Pressing” Checks
You did not need to become an expert to avoid most issues. When buying in person, you were looking for obvious scratches, visible warps, and heavy spindle wear around the center hole. When buying online, you were looking for sellers who described condition clearly and followed a consistent grading standard.
Grading language got abused, so it helped to keep expectations grounded. Near Mint usually meant a clean play with minimal handling marks. Very Good Plus often played well with occasional noise. Anything graded lower tended to include consistent noise and visible wear unless the seller explicitly documented otherwise.
Pressing defects showed up in a few common ways. Off-center pressings caused pitch wobble on sustained notes. Non-fill produced a tearing sound in certain passages. Inner groove distortion showed up near the end of a side, and it could come from setup issues or a hot cut on a mediocre pressing. The easiest way to troubleshoot was simple comparison. Play a record you trusted, then compare behavior.
Step 4: Keep Records Clean And Stored Correctly
A basic routine went a long way.
Dry dust removal before each play reduced crackle and prevented debris from building up on the stylus. Used records usually benefited from a wet clean early, especially if they came in paper inner sleeves or had visible residue.
Storage did most of the long-term protection. Records needed vertical storage, stable temperature, and protection from sunlight and heat sources. Stacking records and leaving them leaning at odd angles created warps over time. Handling habits mattered too. Touching the edges and label area kept oils off the grooves, and keeping the stylus clean prevented buildup from transferring back into the record.
I actually love the video below, so please refer to it for any additional deep dives into storage and cleaning! It’s a must-watch.
Where To Shop Without Extra Risk
At the beginning, the goal was fewer surprises. Local record shops were useful because you could inspect records directly. Label webstores and reputable online retailers helped with new pressings and straightforward returns. Discogs worked well for specific editions, as long as you vetted sellers and paid attention to grading notes and policies.
If you wanted a curated online option aimed at vinyl buyers, you could also check out evergreenvinyl.com, then decide based on selection, shipping terms, and return policy.
Closing Notes
A strong vinyl collection came from consistency, not complexity. Start with a setup that tracked correctly, buy records you actually planned to play, learn basic condition checks, and store everything like you wanted it to last. That approach kept the format enjoyable and kept your spending under control.
The post The No BS Guide To Starting A Vinyl Collection appeared first on Magnetic Magazine.