

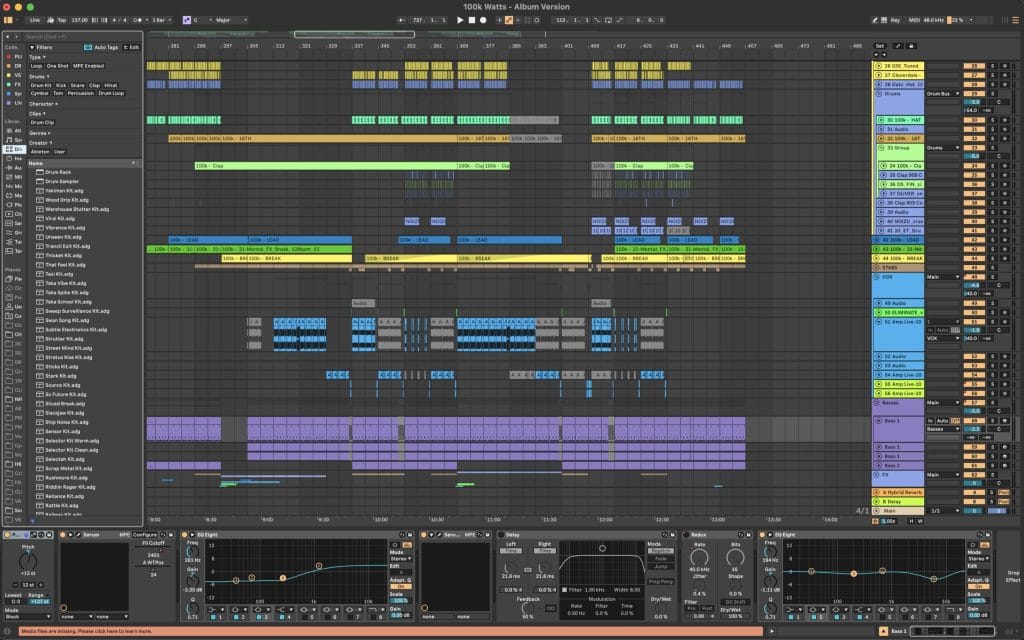
Cloverdale has been on a relentless run with his Channel 303 project, and his new single “Nobody” with Return of the Jaded proves why this series has quickly become one of the most talked-about stories in club music right now. Out now, “Nobody” pushes UKG-inspired grooves through a bass-heavy framework, built with the precision and grit that has defined Cloverdale’s recent shift toward a hardware-driven approach. This is the second installment in the project following “100k Watts,” and it lands right in step with his mission to strip club music back to raw energy and focused sound design.
For this breakdown, Cloverdale dives into the plugins that powered “Nobody” and the techniques that shaped its mix. From building every synth element in Serum 2 and stacking its new FX modules, to sculpting stereo width with Microshift, to using LFO Tool in unconventional ways for shaping drums, this is a clear look at how these tracks are engineered from the ground up. He also breaks down why tools like Sabroi’s Damage play such a crucial role in shaping aggressive bass layers without sacrificing control in the mix.
Serum 2
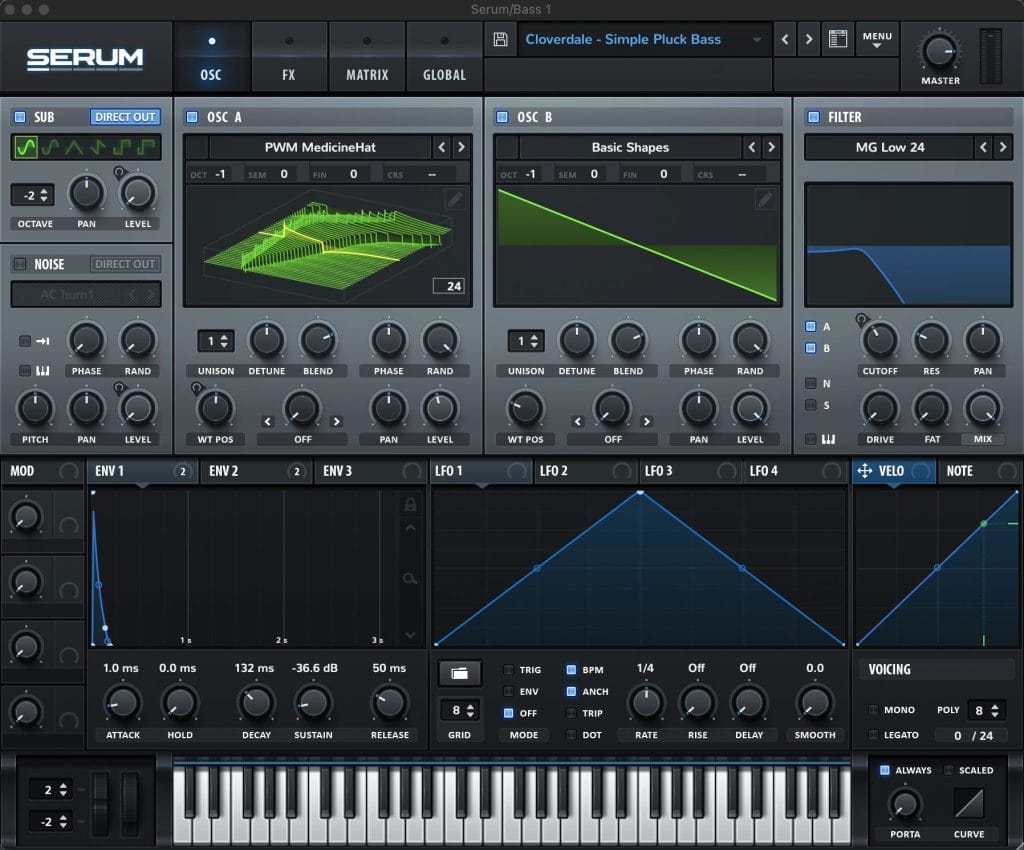
Sure, everyone knows Serum but with Serum 2, I find I’m not reaching for much else these days. Where other VST synths often require heaps of post processing, Serum 2’s audio routing and FX units allow for seamless sound design all right in the box. Not to mention the addition of multisample mode, spectral synthesis and granular synthesis. The creative options are endless, the UI is so easy to understand and use. It’s the one synth I know I can grab at any point and quickly get close to the sound I’m after in my head.
In 100k Watts, all of the synths were made in Serum. Initially in Serum 1 however in later mixing stages I added Serum FX 2 to certain bass channels as well. There are three features of Serum FX 2 that I couldn’t live without these days:
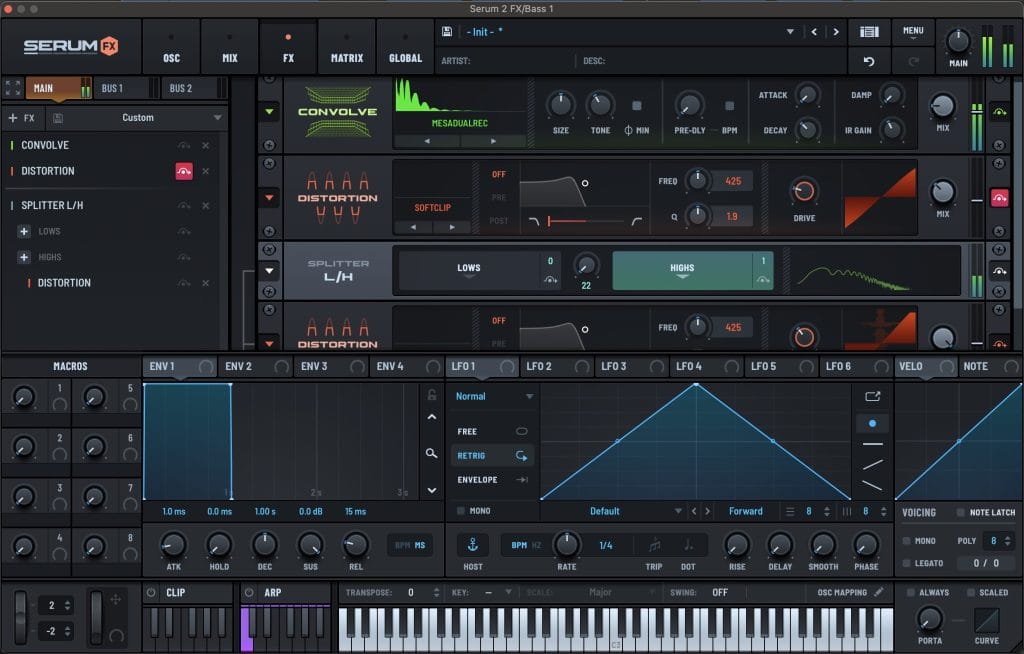
- Convolve: Serum’s built in Convolution Reverb used for highly realistic and complex reverb effects, which I use often for simulating guitar amp cabinets on basslines to give them a real warm and thick tone.
- Distortion: Though not new to serum 2, you can now stack multiple distortions. It also has one of my favourite sounding new modules, ‘overdrive’ which can be stacked up 16 times in the same instance. I’ve been getting some really creative results by feeding a basic shape (Sine/Square etc) mixed with a modulated white noise into a heavy amount of distortion. Then modulating the filter units in the distortions themselves.
- Frequency Splitting: Finally we can apply effects to individual bands right in serum. This is perfect for adding some Dimension/Chorus/More distortion to just the highs and mids without impacting your clean sub.
Serum 2 is the ultimate sound design tool. There isn’t much they’ve missed. With the new updates to Serum 2, even new producers can explore creative results without knowing tons about the inner workings of traditional synthesis. It’s also done an incredible job of visually displaying wavetables, LFOs, Filters and more so the user can actually understand what is happening when they make a change. An invaluable lesson which will stick with you from synth to synth.
MICROSHIFT
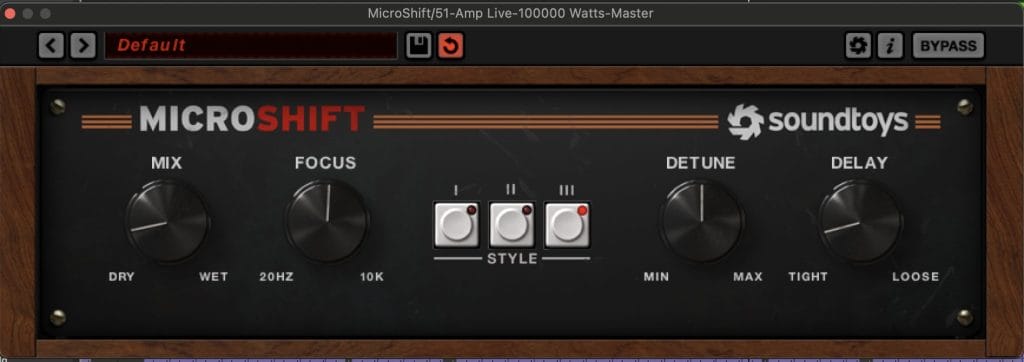
Microshift has become my go to widening plugin, especially for leads and vocals. Its hardware emulated tone and colouring is far more real and warm sounding than other widening tools such as Wider or Ozone’s Imager. I think of it somewhere between a stereo imager and a chorus… it’s almost like the cleanest chorus you’ve ever heard.
I used MicroShift sparingly on my vocal chain for this track. Since the vocal was already treated with some saturation and compression upstream, MicroShift was like the final polish before reverb and delay. Perfect for getting the vocal glued in the right space in the stereo field. Not too wide, not too thin. Just ooooozing.
No matter the genre, having a few different options for widening can really help dial in a mix. Chorus, Delay, Haas effects and more can often be too over powering, yet something about tools like Wider can sometimes sound artificial. Microshift hits that vintage sweetspot.
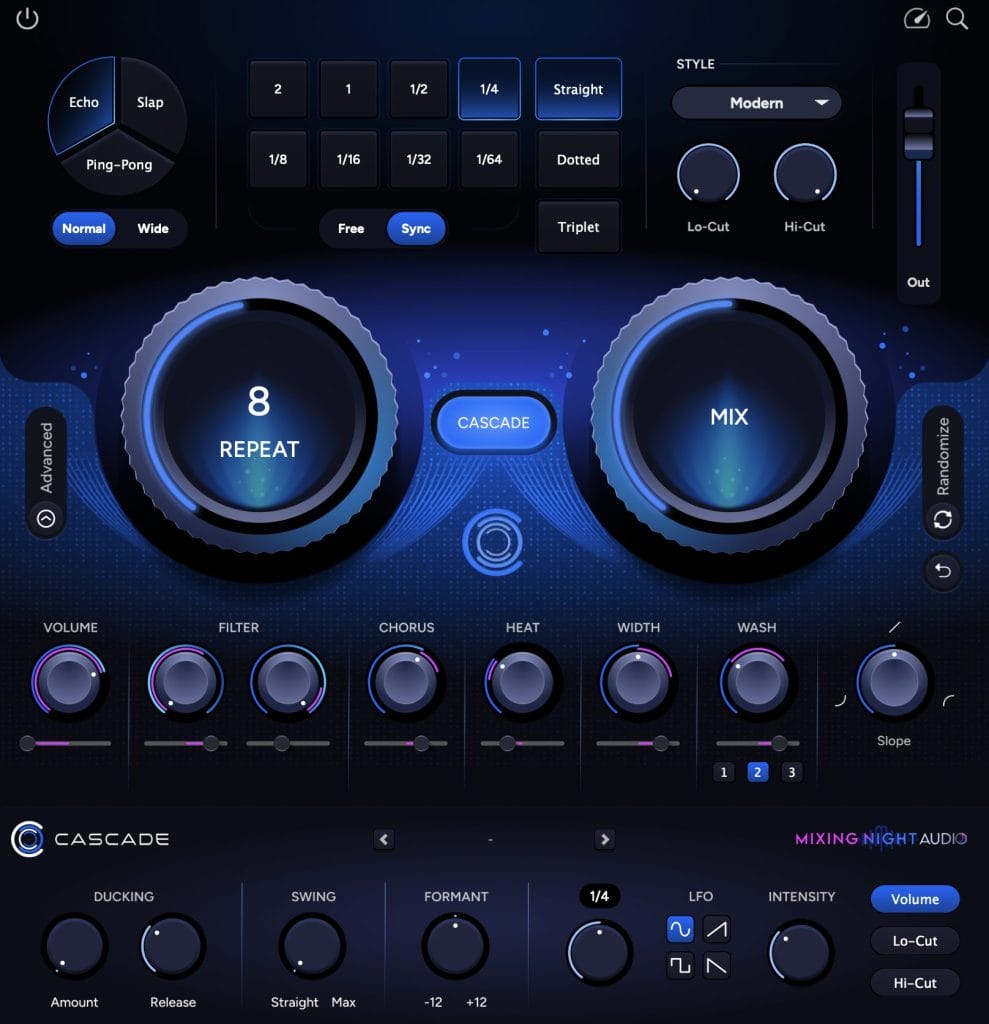
LFO Tool
<
I’ve been using this plugin for over 10 years and I don’t plan on stopping anytime soon. The super simple ultimate automation tool for not just sidechain. You can map LFOs to volume, filters, panning and more. It works in full frequency or split band mode so you can process just a certain band.
I use LFO tool for everything from sidechain to panning effects. But one way I use it all the time that is a little less conventional is by putting it on my kick and using the volume curve to very accurately sculpt the length of my kick drum. It’s an easy and visual way to have detailed control over a really important part of house & techno.
LFO tool is great for trance gates (that have some volume & panning modulation), it’s great for creating subtle rhythms in drums, it’s great for trigging with midi to gate a synth. It’s a versatile tool that should be in every producer’s toolkit.
DAMAGE
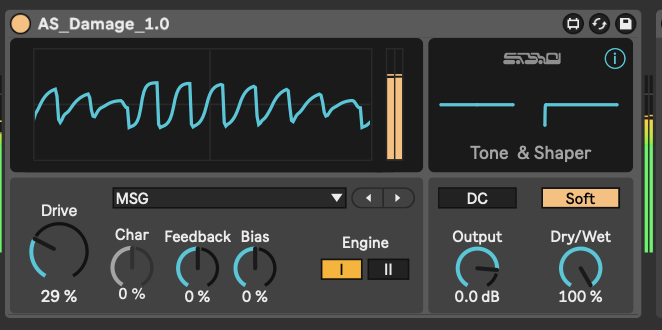
Sound design got exciting for me once I realized how distortion could play a role in my signal chain. It’s not always about creating gnarly tones using weird wavetables and crazy FM modulation. Sometimes the gnarliest sounds can come from a simple tone ran into a heavy distortion. That is where Sabroi’s Damage comes in. It’s a Max for Live distortion unit with 2 different engines and countless shapes to try. It’s aggressive at times which makes me reach for it far more as a sound design tool rather than a mixing tool.
In 100k Watts, I’ve used damage to help beef my bassline. Originally I really liked the sub tone I had got out of the main patch however I knew the sound lacked thickness and beef. So I duplicated the whole layer, widened it up a bit, added a bit of noise and then added a hefty amount of Damage before applying a high pass EQ to roll off all of the low end. I’m then left with a gnarly distorted layer that I can blend in with my original to get a big full sound.
When writing techno (or any genre) it’s important to decide if you’re doing something for the purpose of sound design or for the purpose of mixing. I try to first create a wild sound. During this process, there are no rules – you can put reverb on your sub, slam it with 20 OTTs and then blast it with distortion. Get weird, get creative, break the rules. It’s at this stage I find myself using tools like Damage. You’re going to be left with a big mess. You can then use those same tools to get that sound you created to sit nicely in the mix. In this mixing stage there are far more tools and techniques that “follow the rules”.
Quick Fire Tips For Making Techno
Tip #1: For house and techno it’s all about locking in your Kick, Bass, Hat and Clap. If you can get those perfect, everything else can just sit on top of that perfect foundation.
Tip #2: Drums are the most important element and can make or break a track. It’s key to have the right samples that sonically compliment each other. Don’t just stack hi hats with no propose. Stack a bright hat on top of a dull one. A tight snare over a flappy clap. Aim for detail and clarity.
Tip #3: For me, using visual tools like Minimeters and Pro-L2 help me get a feel for how things are grouped and clipped. They can help me determine which elements might be poking through the mix that my ears might have missed. Which ones could use more compression, limiting or clipping to maximize loudness.
Tip #4: When you’re creating sounds, go nuts, break all the rules – there are no rules! Once you’re done you can then use those rules to get the sound to work with the rest of your track.
Tip #5: If there is one thing I think gets overlooked by newer producers, it’s the importance of drum length. A kick that is a few milliseconds shorter or longer can make a world of difference. Not everything needs to be big and long.
The post How It Was Made:Cloverdale – 100k Watts (Vibrancy) appeared first on Magnetic Magazine.