Table of Contents
The pseudonymous producer, Raar’s, latest single, “No Me Gust@” pulls you in before you even realize it. There’s something visceral about the way it blends sharp percussion with this hazy, almost melancholic atmosphere—it’s like the perfect intersection of chaos and control. Out now on bitbird, the track builds on everything we’ve come to expect from Raar: raw textures, emotionally charged melodies, and an undeniable edge that keeps you guessing. It’s another reminder of why his name keeps popping up in conversations about the future of electronic music.
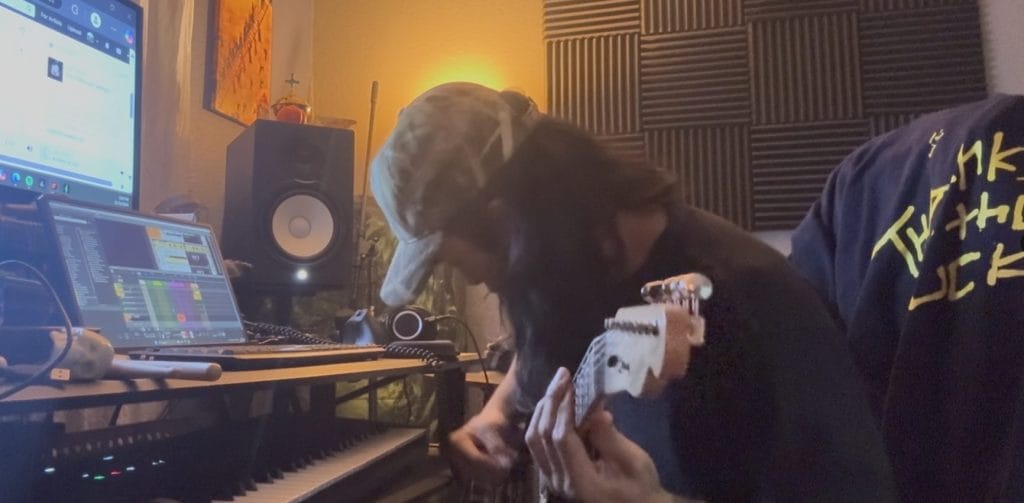
When I sat down with Raar to talk about how “No Me Gust@” came together, he clearly doesn’t overthink things in the studio. His process is all about feel—jamming out ideas, letting imperfections creep in, and trusting his instincts to guide the track’s evolution. That said, the technical side of his work is just as fascinating. He broke down how tools like VolumeShaper help him carve out space for every sound to breathe, and how something as simple as stereo imaging can completely shift the mood of a mix.
It’s this balance of raw creativity and technical precision that makes his tracks hit so hard.
Listen to the track below a couple of times to acclimate our ears to the sauce they’ll be sharing before diving into the latest iteration of How It Was Made: Raar – No Me Gust@, out now on bitbird.
VolumeShaper – Shaperbox
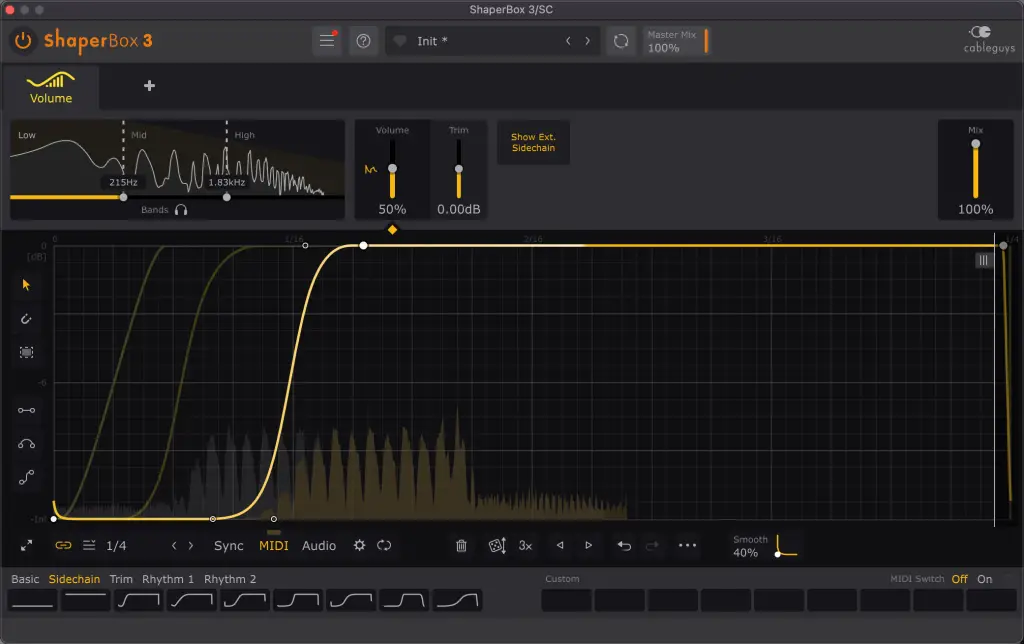
VolumeShaper is a plugin that allows for repeated volume automations over time. It is useful for creating movement in the signal’s amplitude and for expanding or restoring the dynamic range of melodic sequences or drum patterns. One of its features also allows you to split the signal into three main frequency bands and process them separately. This, combined with its ability to be triggered by MIDI signals, makes it particularly useful for creating space for the kick and snare drums in the mix using a ducking sidechain.
Two instances of this amazing plugin, routed to the kick and snare tracks respectively, are placed on the Sidechain Bus (where, typically, all instruments except for drums and vocals are routed) in my default Ableton Live project, ready to go. I usually create different ducking curves for each frequency band: slow for the lows, fast for the highs, and something in between for the mids of the sidechain relative to the kick drum, and vice versa (fast for the lows, etc.) for the snare sidechain. This is how I handled the sidechain process in my track (and how I approach all of my productions).
Concerning dance music, rhythm should be the leading element of a track, so it’s essential to keep the transients of the main drum elements as clear as possible. To achieve this, make sure to spend enough time matching each frequency band’s slope with the trigger sound (i.e., the kick). A sidechain that’s too short may cause phase issues, especially on lower notes, while a slope that’s too long will make it feel like the groove is literally sucking the life out of the other elements. Also, don’t be afraid to use other percussive elements as triggers, as long as they help enhance the groove and get your booty shaking 🙂
iZotope Imager
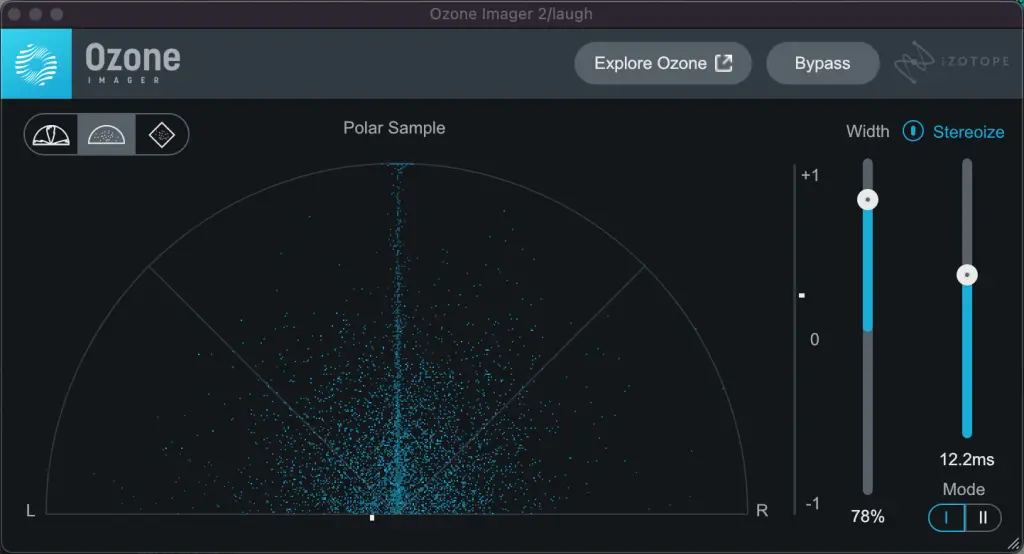
Imager is present basically everywhere across all the tracks in all my projects. It’s a must-have free VST that allows both control and visualization of the stereo width of a sound. It also features two different algorithms for enhancing stereo information, which can be controlled with two simple faders. What’s great about this plugin is that it doesn’t alter the mono signal of the processed sound, and it includes a built-in vectorscope to help you monitor the signal — very useful for keeping track of your sound’s mono compatibility.
I mainly use this effect to widen elements that are almost, if not completely, mono — like the soprano voice sample in the second drop — or to narrow the stereo image of elements that clash with other already wide sounds. For the widening process, I prefer algorithm number one (which relies on the Haas effect) over algorithm number two, even though the latter is more recommended for preserving transients. In my opinion, algorithm one gives a more natural feel to the final result. Sometimes, it’s really hard to make layers fit together, especially if they occupy the same frequency range, so using this plugin can make two such layers sound great together by narrowing the first and widening the second.
Use this effect to taste on each track, but be aware of one thing: although a wider sound can create the sensation of being enveloped by the sound, the perceived punch and power of a bassline or drum loop rely on its mono information. So, take your time to find the best balance for your mix in terms of stereo width, and try not to affect the sub-frequency information (it’s generally better — though not mandatory — to keep them mono for a clearer low end), and avoid destroying transients.
Ableton Stock Chorus-Ensemble (Vibrato Mode)
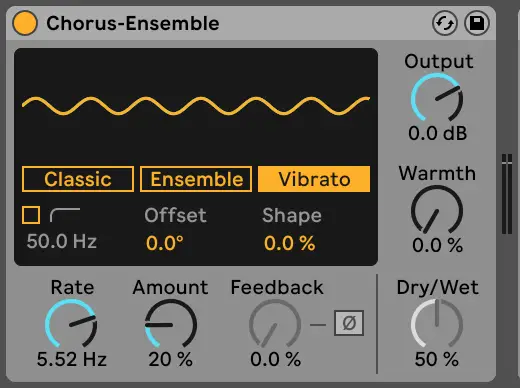
It’s a simple pitch vibrato effect that allows you to adjust the speed and intensity. Just as simple as that—nothing more, nothing less.
I use this effect on literally a ton of tracks. In “No Me Gust@,” for example, I applied it to the main zurna lead in both the first and second drops to make it sound like it’s being played by a drunk guy. For this kind of effect, I typically go for a low frequency (under 2-3 Hz) and a relatively high effect amount (between 15% and 20%). Sometimes, I also like to add a bit of vibrato to other sounds I use. In these cases, I choose a higher frequency (over 8 Hz) but lower the effect amount to around 10%. To simulate a more “human” feel, I automate the effect to switch on and off, just like a real player would do—especially on the last note of a melodic solo.
Another way to use this effect is by setting a low frequency and dry/wet percentage, then adding an EQ to cut both the low and high end of the spectrum, narrowing the width of the sound (if needed), adding a touch of vinyl noise in the background, and applying a subtle soft saturation on the entire bus. This effect chain can transform your modern, digital-synthesized instrument into a rusty, vintage-sounding, slightly nostalgic tape-recorded synth. I often use this technique in the intro and outro sections of my tracks to create a contrast between a soft, dreamy section and a more energetic, powerful one.
Ableton Stock Autopan
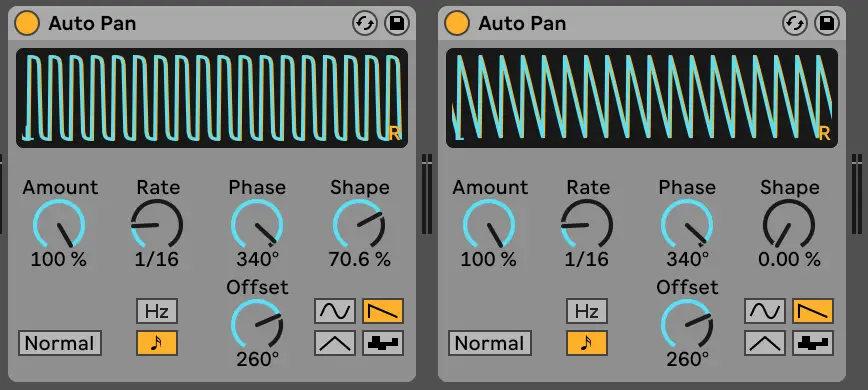
Many people are sleeping on this one, but I believe its simplicity makes it a game-changer when it comes to creating interesting variations and movement in a sound. Autopan allows for separate volume automation on both the left and right audio channels, giving the user the ability to select different basic wave shapes, LFO speed and amount, phase between the automation of the two channels, and the offset in terms of “phase shift” of the wave relative to the beat.
I mainly use this native effect as a gate-type effect by setting the phase to zero (or just a few degrees to create a subtle stereo effect) and then playing with the wave shape for softer or sharper cuts, and the offset to add a slight delay, making the effect either on or off-grid, depending on the desired feel. For example, in this track, I applied it to the soprano voice sample during the second drop to create a call-and-response pattern. I left the first bar untouched, while gating the second bar with the effect. In this case, I used two instances of Autopan: the first one with a rounded sawtooth wave (close to a square wave), and the second with a pure sawtooth wave. The reason for this choice was to combine an “ON-&-OFF” effect with a “pizzicato” effect.
Another way to use this effect is to keep the sine wave and automate the LFO rate, creating interesting patterns that enhance the melody or harmony. (I don’t usually calculate the exact rate at a specific time—I prefer to experiment and adjust until it sounds right.) You can also try using it with a sawtooth wave on beats or drum loops to make them sharper and accentuate their transients.
Quick Fire Tips For Making Music
Tip #1: There’s no mistake in doing what you like.
Constantly putting yourself constraints because of the genre you’re producing will automatically turn into a productivity cage. This snare won’t be accepted by the dnb scene? That synth sounds too digital for a UKG track? That lovely Mix of cultures, times (past and present) and instruments (real instruments, organic textures/foley, synthetic).
Tip #2: Silence, your best friend.
In an industry where most people seem more concerned with the volume of a track than its quality (sadly, myself included), even just a few milliseconds of silence can help restore some dynamic range in an otherwise full track, and make the loud parts feel even punchier.
Tip #3: Sub bass as a rhythm and melodic enhancer.
Many producers tend to forget how important this element is in dance music: flat, lifeless notes sitting statically on the DAW’s piano roll for entire bars. Give it a bit of pitch attack or an envelope, add more notes—maybe off-grid—enhance the groove or follow the beat, or even better, complete the upper harmony. But please, don’t neglect it. The dancefloor will thank you later!
Tip #4: Keep your project in order.
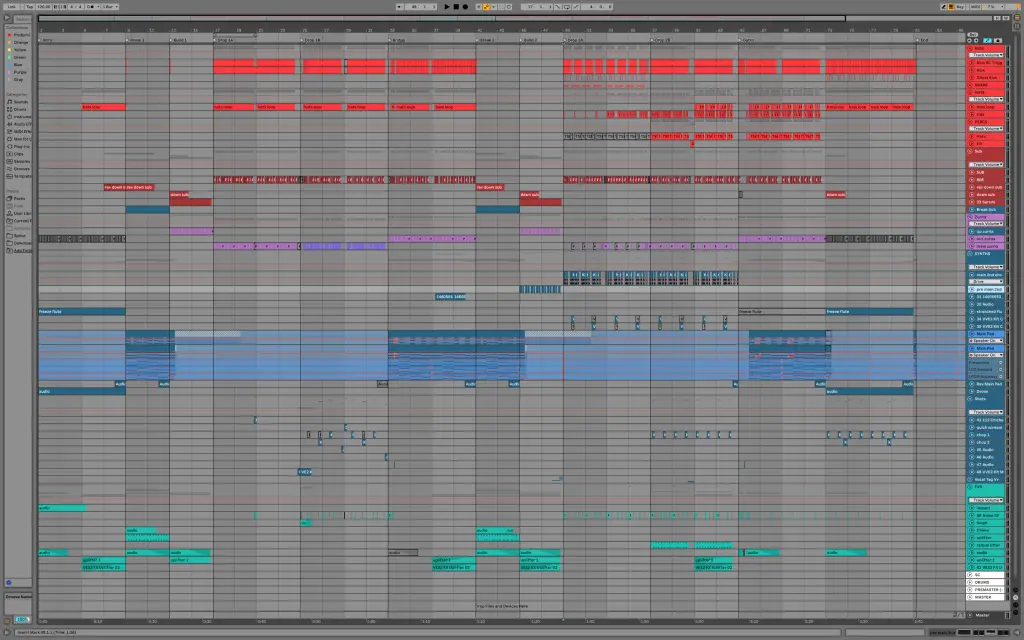
Group tracks of the same instruments, use colors, delete unused or unnecessary tracks, set markers in your DAW to highlight the different sections of your song—basically, do whatever it takes to make your project look like your mom would want your room to be. An organized project leads to a clearer vision of your track, making it easier to spot potential issues and make better decisions about what to add, remove, or modify.
Tip #5: Align the transients and delete the unnecessary ones.
If your project swarms with punchy or snappy elements that help enhance the rhythm of the main drum pattern (like pitch-enveloped basslines, plucked synths, ethnic percussion, etc.), make sure to align their transients for a clearer and more concise groove. I know this might sound obvious when everything’s already aligned to the DAW’s grid, but it really helps when you add a bit of swing by slightly shifting some elements off the grid. And last but not least, ensure that overlapping transients occupy different frequency ranges and stereo fields to avoid phase cancellation issues.
The post How It Was Made: Raar – No Me Gust@ (bitbird) appeared first on Magnetic Magazine.


