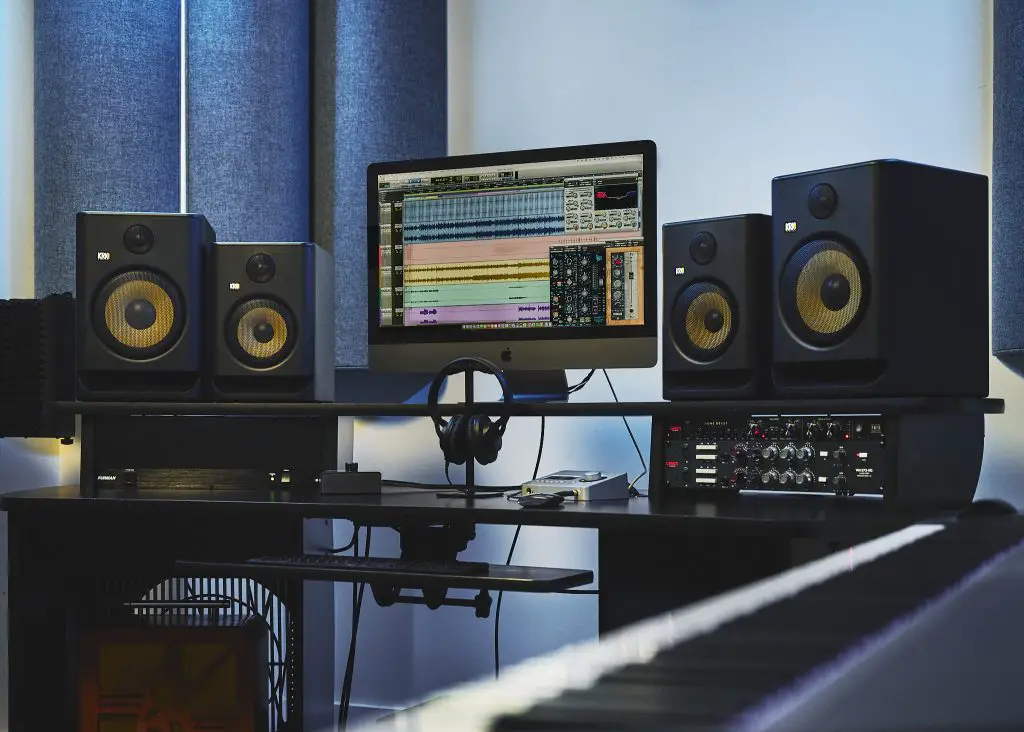
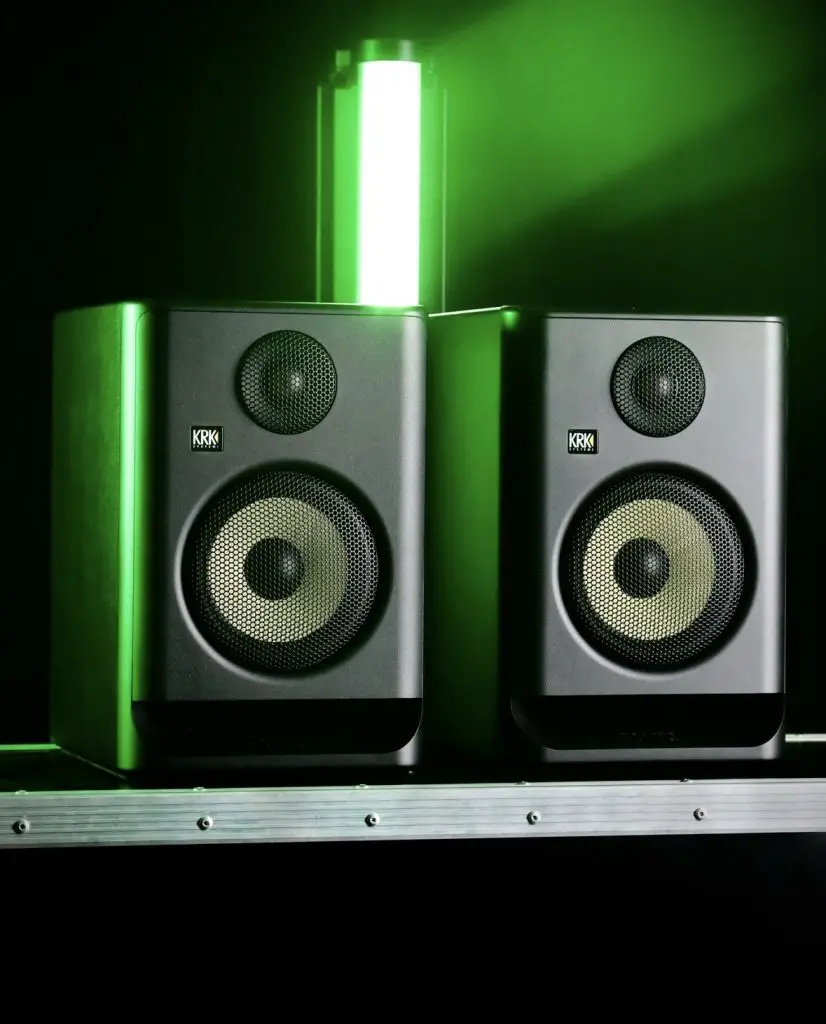
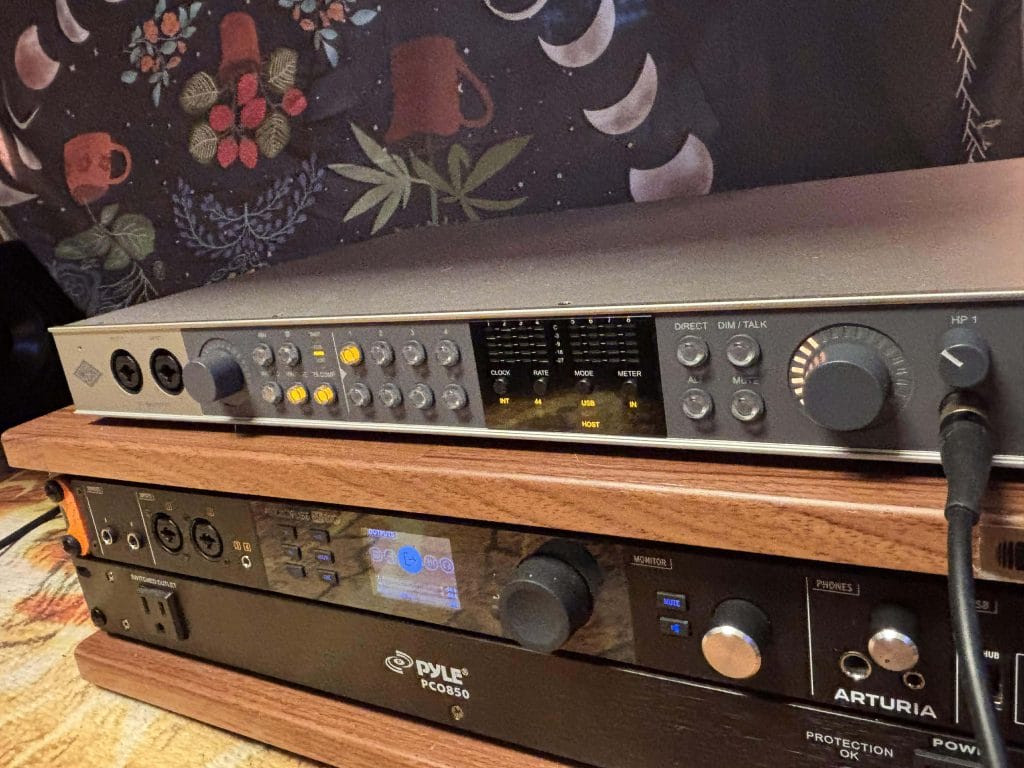
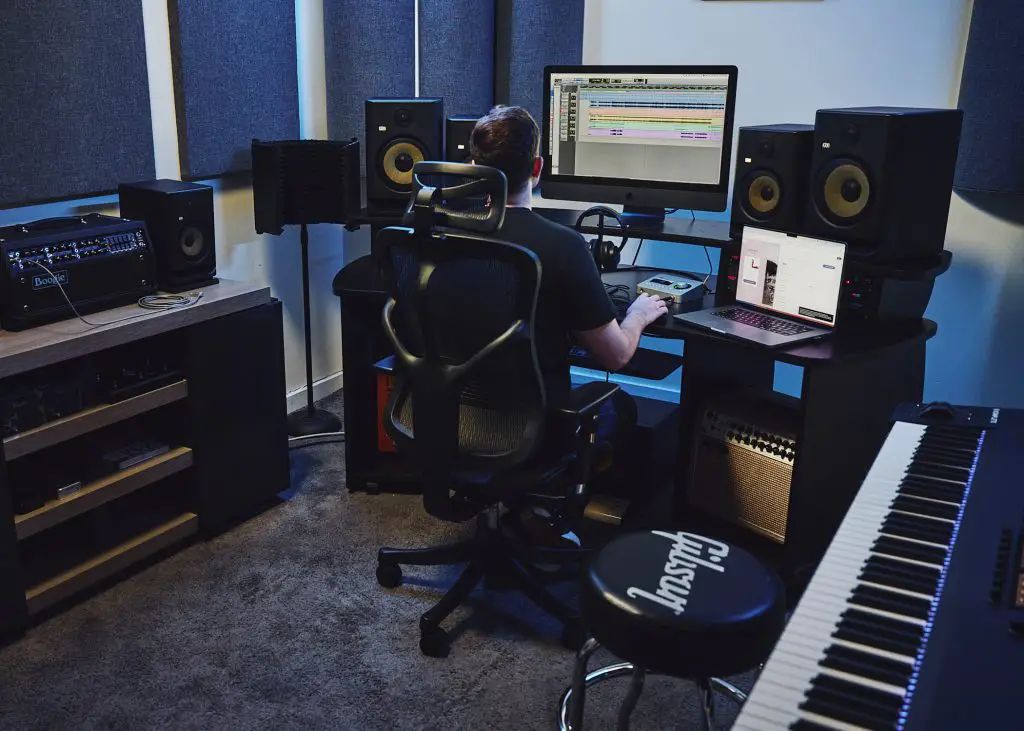
Getting new studio gear, especially studio monitors, is always exciting. However, it’s crucial to remember that many variables need to be considered to get the most value, accuracy, and clarity out of your studio tools. With studio monitors, in particular, there’s a lot that goes into setting them up for success. This is often overlooked by newer music producers eager to dive into their first or even second set of monitors and start working on their next track.
In this article, we sat down with Craig Hockenberry, the Director of Engineering at KRK. KRK is known for its industry-standard monitors, popular among entry-level, mid-level, and professional users. Their range means they serve a wide variety of producers, engineers, and artists, all of whom can learn how to maximize the value and get the most accurate sound from their monitors.
We had an extensive interview with Craig to discuss how to get the most out of your first pair of studio monitors. So, without further ado, let’s dive into this high-value interview to answer all the questions you haven’t even thought to ask about getting the most out of your first pair of monitors.
When buying the first set of monitors for music production, what are the most important technical specs to be mindful of?
All specs are important, but there are three main technical specs to consider when purchasing your first set of monitors. The first, and arguably most important, is frequency response and accuracy. You want a monitor with a wide bandwidth and a flat frequency response across that bandwidth.
This will ensure an accurate reproduction of the audio and also that your mix translates well on other speaker systems and headphones. The other two important factors are the size of the monitor and features it has available to help you achieve the best mix possible. The size of the monitor should be appropriate for the size of your space—compact monitors for small spaces and larger solutions for larger spaces will yield the best results.
Additionally, monitors with built-in EQ and other features will help you tune the monitors to your room and acoustic boundary conditions, which is extremely important to achieve an accurate mix.
Do you need to buy a sub alongside your first set of monitors? If not, what can you do to get better low-frequency monitoring out of your first set of monitors?

No, you do not need to purchase a sub for your monitors. The best thing to do to improve low-frequency monitoring would be to treat your room acoustically. However, this requires a pretty large budget, especially if you have a small room. Larger rooms are a little easier. Mid- and high-frequency absorption is easier and more cost-effective, but for low frequencies, acoustic treatment can be cost-prohibitive.
If you cannot afford room treatment for low frequency, the best thing to do is set up your monitors properly for your listening position within the room. Typically, your workstation should be set up on the short wall of a room, about one-third of the distance from front to back of the space. That’s the ideal listening position.
If you do that, you’ll start in a good spot. All that being said, if you have a larger space or a well-treated room, a subwoofer can be advantageous. Additionally, if you are mixing sound for motion pictures or television, a subwoofer is essential, and usually, a multi-channel system is necessary.
All these things can get expensive, so let’s ask a similar question regarding speaker stands and isolation pads. Are there studies or data that illustrate their effectiveness in reducing unwanted vibrations?
You don’t necessarily need speaker stands and isolation pads, but they do help reduce the transmission of vibrations that occur if you have your monitors placed directly on a desk.
The cool thing about some of the new KRK products is that we’re supplying foam wedge isolation pads with the speakers to help cut down on the need to purchase additional gear to isolate your monitors. There are plenty of studies available all over the internet that show the advantages of isolation treatments.
How often do you recommend reassessing and adjusting monitor placement in a home studio setting?
You should work on fine-tuning the monitor placement when you first set them up. Then, I would suggest doing it again after the break-in period, which is about 100 listening hours. Once the monitors are set up properly, you typically do not want to move them again because your ears get used to the sound in that room, and you’re going to know what it takes in your mix to adjust for those imperfections in your acoustic environment.

How do professional studios approach monitor placement differently than home studios, if at all, and what can home studio owners learn from this?
Professional studios are designed around the studio monitors or the listening position. Walls, ceiling, floors, acoustic treatments—everything is designed around that. Conversely, in a home, you’re often using a bedroom or other space that was not made specifically for mixing or studio work. If you are a home studio owner with a budget, the most important thing to consider is acoustic treatment.
There are a lot of resources available online that can teach you the proper way to approach this, but at the most basic level, make sure you have a room that reduces standing waves and room modes (dimensional sizes).
If you’re building something at home, do so with the knowledge that your listening position and studio monitors should remain in one place forever.
Finally, could you offer a quick step-by-step guide or checklist for readers to assess and improve their own monitor placement, including any necessary measurements or calculations?
To achieve a good starting point for your listening position and monitor placement, following these rules of thumb will minimize the effect room modes have on the direct sound you hear.
- Always face the listening position toward the short wall, with the longer walls at your sides.
- Maximize the distance from the listening position and the rear wall.
- Calculate your listening position to be approximately 38-percent of your room’s length from the front wall. In small rooms, your monitors may be very close to the wall. Use the onboard EQs to adjust to this acoustic boundary condition.
- Ensure the listening position is centered between the left- and right-side walls.
- Avoid placing the listening position directly in the center of the room.
- Add acoustical absorption at direct reflection points on the side walls and ceiling, if possible.
- Add acoustical diffusion directly behind the listening position on the rear wall.
- Stereo monitor placement: using the acoustical axis of your monitors and listening position references, place the monitors at a +/- 30-degree angle to form an equilateral triangle between the monitors and the listening position.
- Use the recently updated KRK Audio Tools app to assist you. It is available as a free download in the Google Play and Apple App stores.
Tip: Furniture such as soft sofas or chairs make great sound absorbers and bookshelves with books and other knickknacks make great diffusers.
For immersive audio format placements, such as Dolby Atmos and DTS:X, please visit their respective websites for information.
The post Getting the most out of your first pair of studio monitors: advice from the experts at KRK appeared first on Magnetic Magazine.


