


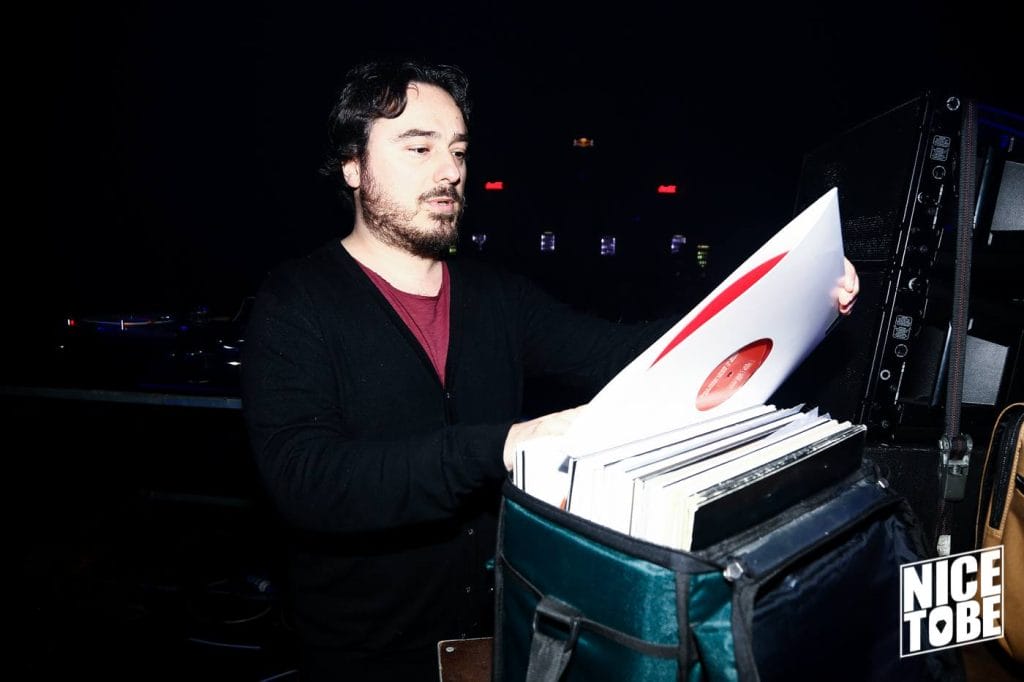

Photos Of Artist C/O @michalstraz
Father Funk’s new album Funk The System lands with the confidence of an artist who has been sharpening his voice for a long time. The full record leans into his history as a multi-instrumentalist and uses it as fuel for a project that blends bass music, songwriting, and live elements in a way that feels personal. You can hear the time he spent shaping these ideas into something bigger than a loose collection of club tracks.
Across the release, guitars, brass, drums, and rich low end form a tight framework for his production choices. It feels like he pulled from every corner of his musical background and let those instincts push each idea forward. Even in the loudest, most chaotic moments, there is a clear sense of structure and intention that holds everything together.
To mark the release, Father Funk broke down the plugins that played a central role in shaping the album. These notes go straight into his workflow, sound design habits, and the tools he relied on while finishing Funk The System. Below is the full feature, formatted for direct CMS use with each plugin leading its own section.
Serum 2
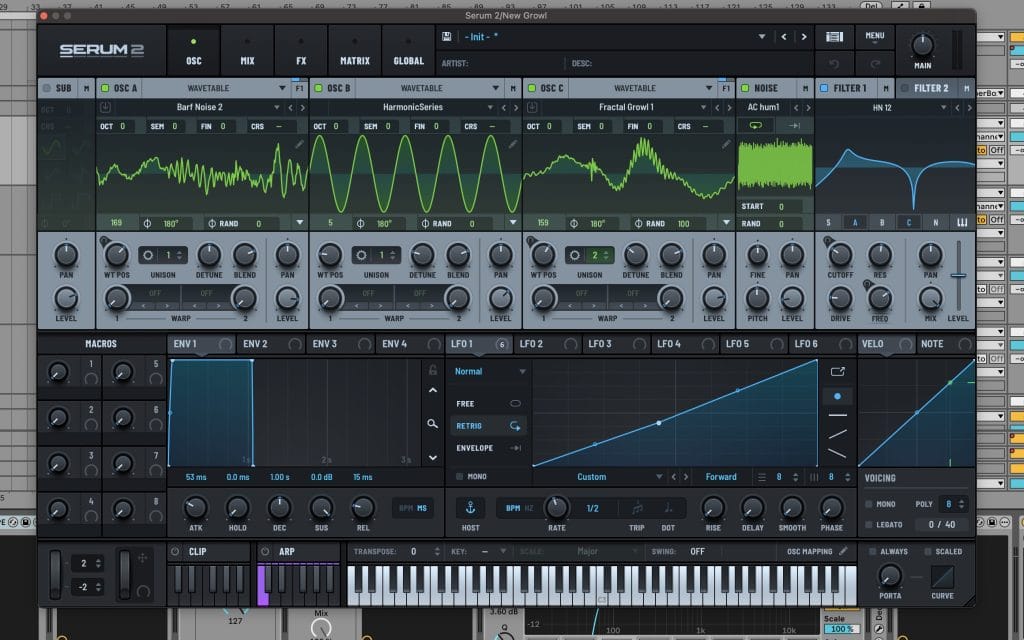
Serum 2 is an incredibly powerful synth. I started the album before Serum 2 came out so a lot of the sounds were made in Serum 1, but towards the end of the process I was going deep on Serum 2 and having a lot of fun with it. It’s definitely my go to synth at this point.
Most people are familiar with Serum. It’s probably the most popular soft synth on the market, and for good reason. I mostly use it for basses, but it’s great for leads, pads, keys… You name it. The updates they’ve added to Serum 2 are fantastic. Having that extra oscillator has allowed me to create sounds within one patch that would have previously required multiple layers on different tracks.
I also love that you can now double up effects in the FX panel, for example having multiple distortions or filters in a row. I’ve always been more of a post-processing guy so being able to do all that within the patch has been super fun. Look out for a Serum 2 preset pack from me very soon.
It’s kinda hard to generalise my process in Serum for this track as there are SO many bass sounds in this project… It’s kinda crazy. I was going for a maximalist brostep vibe with this one.
I never use presets in Serum (unless they’re my own) so every sound was made from scratch. My sound design process involves a lot of experimentation, but I’d call it “informed experimentation” as I have a lot of go to sound design methods and tricks that I employ, but I kind of mess around until I get something I like.
I use FM quite a lot (I guess it’s PD in Serum 2) as I find it much easier to create a unique sound that way. I’m also a huge fan of the Glork Tables (third party wavetables made by Glorkglunk, pick them up on his Gumroad) and I use them a tonne in all my projects. And I’m a sucker for simple analog wavetables like saw waves and square waves which I’ll use as a solid foundation for a sound.
In terms of processing bass I usually end up using multiple distortions, OTT, compression, EQ, clipping and some kind of imager (most often Ozone Imager). It totally depends on the sound though. I’m not a big reverb guy, I usually like my sounds fairly dry, but I will throw a short reverb in the chain sometimes to give the sound some air. Automating the wet signal can be fun for some extra movement.
One thing I did a lot on this track was completely remaking a sound from scratch if I got stuck. I often find that if a sound is not working, starting from an initial patch and simplifying the patch and effects chain works wonders. Keeping things simple is key. If something is too layered and processed it can be very hard to make it sound solid and cohesive.
StandardClip
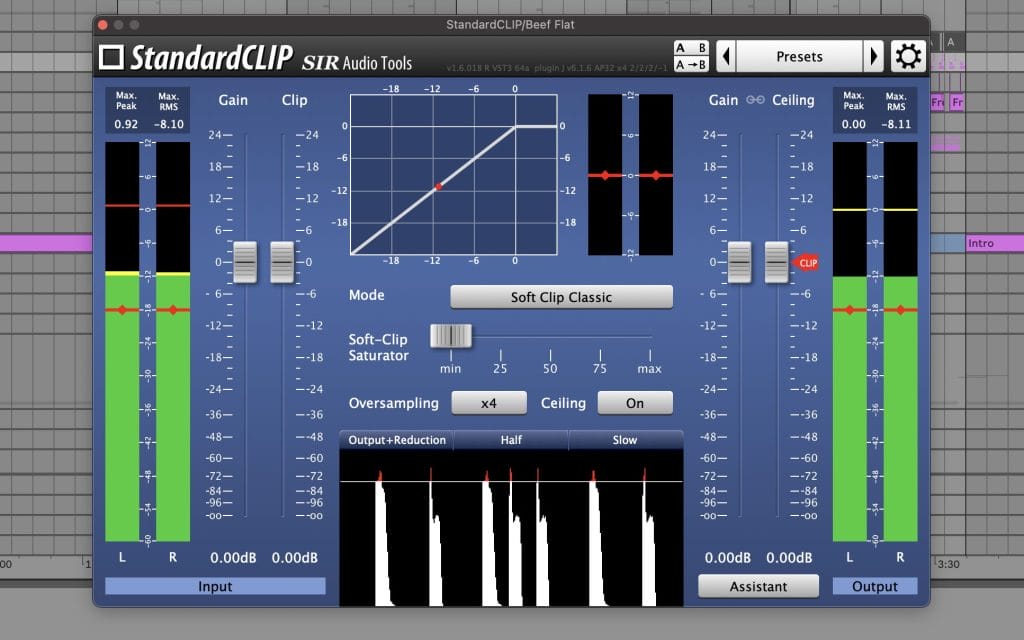
I’m obsessed with StandardClip. It has such a great sound. Since I started using StandardClip my mixes have improved tenfold. Clippers essentially shave off the loudest peaks of a sound, so they’re great for getting more loudness out of your mix. I also love the sound you get from pushing hard into a clipper. It crunches stuff up really nicely.
StandardClip is all over this track. I’m predominantly using it on the drums and basses, and I’m always using it on my master chain (sometimes it’s the only thing on there).
In terms of drums I love to use StandardClip after a transient shaper and compressor (Glue Compressor is my go to). That way I can amp up the transients then shave off the peaks so I have a super snappy kick or snare without any spiky peaks. Snares sound awesome being driven super hard into a clipper.
With basses I usually have StandardClip right at the end of the chain acting almost like a limiter to get them sounding super loud and to squash any dynamics out of them. Growly mid range basses always sound great being smashed into the clipper.
One thing you have to be careful with when using a clipper is distorting the low end. With basses I always have a separate sub these days so I can get away with clipping the mid range part of the bass without affecting the sub. With kicks I’ll sometimes use Pro-MB to compress the low end of the kick before going into StandardClip to prevent distortion.
Oszillos Mega Scope
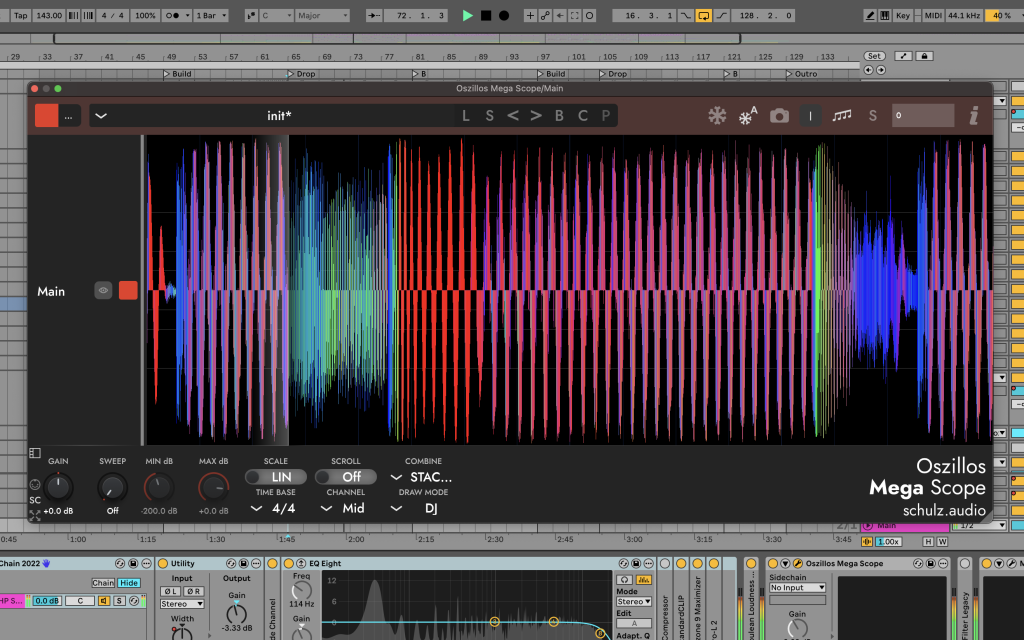
Oszillos Mega Scope is my go to visualiser. It looks a lot like the waveform on Rekordbox or Serato which is something I’ve been looking at for a long time, so I know what a good mix looks like. It’s a handy way to see both the frequency content and the waveform of a track at the same time.
I’m mostly using Oszillos Mega Scope to make sure things are loud enough, specifically the kick, the snare, the sub and also the track as a whole. Sometimes it might sound like the kick or snare is hitting where it should be when actually you need to boost it a few db.
I think to get the most out of a plugin like this it’s helpful to analyse other peoples music to see what a solid mix looks like and go from there.
Another trick I use for mixing is putting a low pass filter before Oszillos Mega Scope so I can see what the relationship between the kick and the sub is. Maybe the kick is too quiet compared to the sub or vice versa. Or maybe the sidechain is too short or too long. Paying close attention to those kinds of details can make a huge difference in your mix.
Ozone Imager
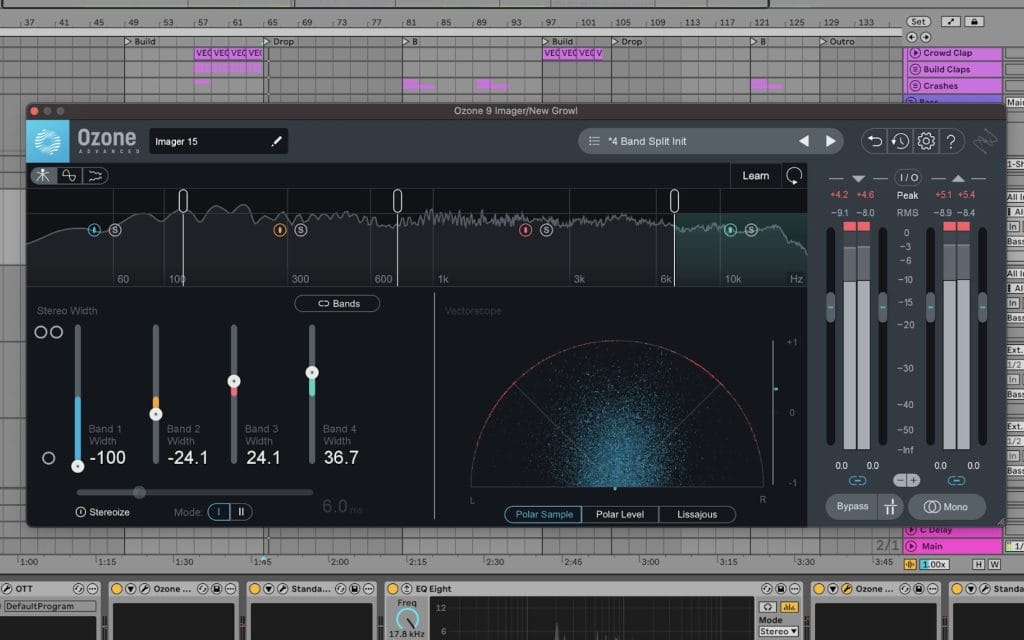
Ozone Imager is a multiband imager that allows you to adjust or add width to different frequency bands. For example you could make the low end of a sound completely mono and have the width gradually increase as you get further up the frequency spectrum. I mostly use it on basses.
For a long time my basses were mostly mono but towards the end of the album mixing process I had a session with Woofax and he pointed out that I could get away with a lot more width on my basses. I’ve been obsessed with Ozone Imager ever since.
Generally my settings in Ozone Imager is a 4 band split with everything below 120hz mono and each band after that getting gradually wider. I usually use the stereoize function to add extra width with between 6 and 13 milliseconds of delay.
I also have an Ableton rack I’ve made that allows me to do multiband imaging using the free plugin Wider. This is super effective too.
A trick I’ve been doing a lot lately is layering a fairly mono mid range bass with a super wide low mid layer like a deeper FM bass or a wavetable like Harmonic Series or FFT Add 2nds in Serum. This keeps the main grit of the sound clean while still making it sound huge in the stereo field.
Quickfire Tips For Making Music

Tip 1
HAVE FUN. Otherwise what’s the point?
Let yourself enjoy the process so the energy transfers into the track.
Tip 2
Avoid relying on presets. The scene needs your actual sound.
Build patches from scratch so your ideas come through clearly.
Tip 3
Space matters. You do not need to fill every pocket of the arrangement.
A single moment of silence can make the next impact feel stronger.
Tip 4
Focus on arrangement. Sound design gets attention, but the overall structure guides the listener toward the moments that land the hardest.
Shape the build so the payoff feels earned.
Tip 5
Try pulling ideas from other genres. Exploring different rhythms and textures refreshes your workflow.
This keeps the writing process moving forward and sparks new ideas.
The post How It Was Made: Father Funk – The Beginning (Self Release, Dubstep) appeared first on Magnetic Magazine.