


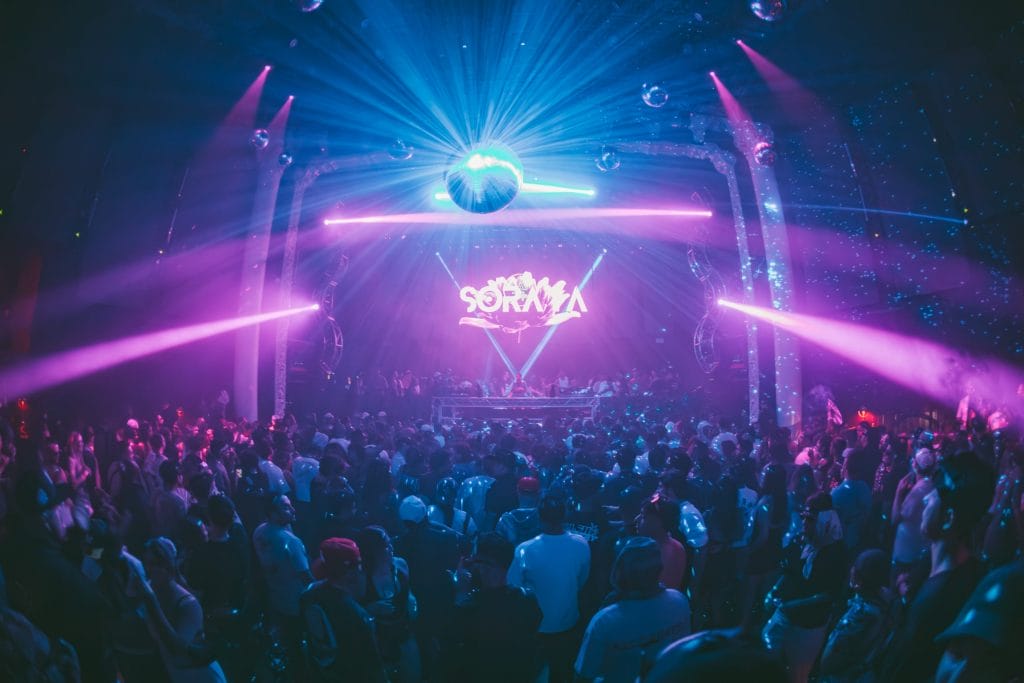
London-based producer and DJ Soraya is stepping into a new chapter with her debut on Realm Records, the respected imprint run by Gorgon City. Her new single “Danse de L’amour” landed on August 22 and quickly picked up momentum, marking a milestone moment in her fast-rising career. Built on grooves and French-Creole vocals, the track captures her knack for pairing raw club energy with emotive touches.
The release has already gained early support from names like Jamie Jones, Claptone, Oliver Heldens, TSHA, Innellea, Adriatique, Luttrell, and Themba. Its deep, late-night drive is matched with soaring indie-dance-inspired synth work and a vocal hook that gives the track a distinct identity on crowded dancefloors. It also arrives in sync with Soraya’s growing presence on international stages, where her sets have leaned into the same dark, seductive energy heard in the studio.
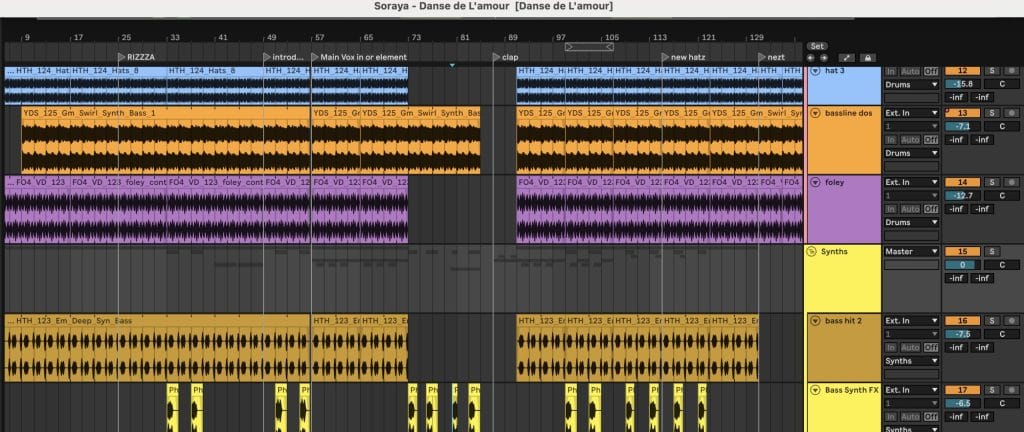
To mark the release, Soraya opened up her project file for “Danse de L’amour” and walked us through the plugins, sounds, and techniques behind the record. From shaping the sharp, staccato leads in Analog Lab to building robotic textures in Wavetable and widening vocals with Ableton’s Long Tape reverb, she shared the practical choices that brought the track to life.
Arturia’s Analog Lab
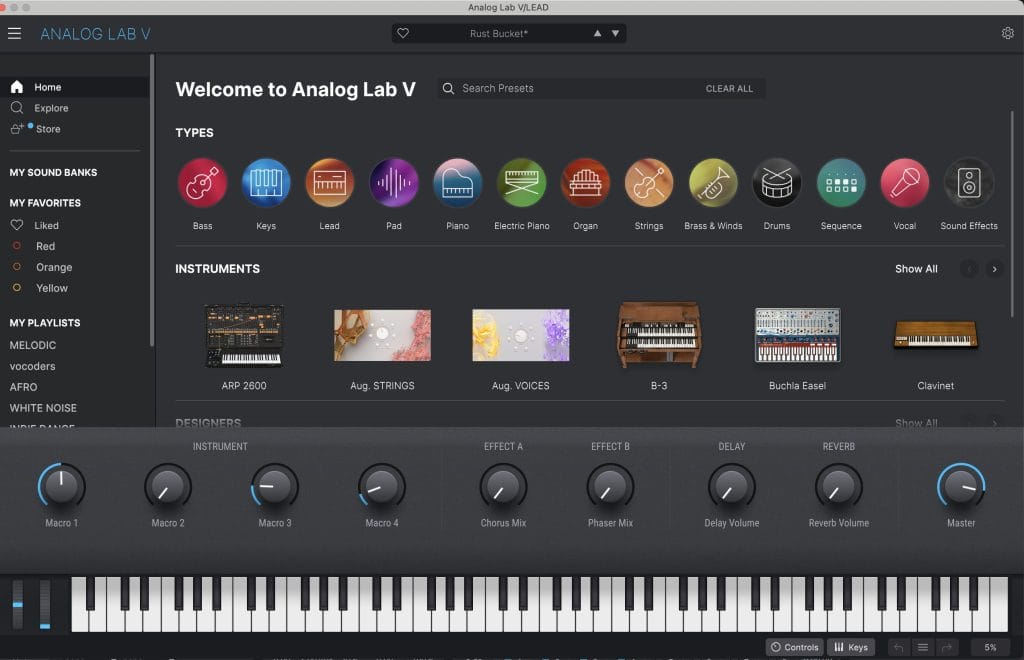
I’ve always loved Arturia’s Analog Lab plug-in (honestly, all of their plug-ins). Analog Lab gives you access to a massive library of classics like the Jun-6, Jup-8, and Korg synths and you can use them just as you would their hardware counterparts. It comes loaded with thousands of customizable presets like leads, pads, basslines, vox, and more – all fully tweakable and easy to modulate in your DAW/on Analog Lab. I could spend hours (and have spent hours) exploring the sound library alone.
For Danse de L’amour, I used Analog Lab to craft the main lead, which is the sharp, high-pitched stabs in the melody. Specifically, I started with the Prophet VS-V and the preset “Rust Bucket.” From there, I modulated the Time and Timbre parameters in Ableton to achieve those punchy, staccato sounds that create the call-and-response around the deeper bass synths. I recorded the modulations live with a MIDI keyboard rather than automating in-DAW, since playing them by hand adds more variation to each section (and it’s more fun). Adjusting the Time introduced more diversity, while modulating the Timbre added more texture to the track.
Even though I don’t consider myself a “technical” producer, I’ve found that experimentation is the best way to unlock what Analog Lab can do. A lot of Indie Dance producers favor more “open” synths, AKA high cutoff frequencies – so I often crank the Brightness parameter in Analog Lab, pair it with 1/16-note stabs, and instantly get more impactful, energetic leads. Another tip: don’t limit yourself to the “Lead” category. Many of Analog Lab’s Bass presets work beautifully as leads, especially when layered. I almost always double my melodies – either with another preset entirely or the same patch in a different octave – to give my tracks extra depth and dimension.
Wavetable
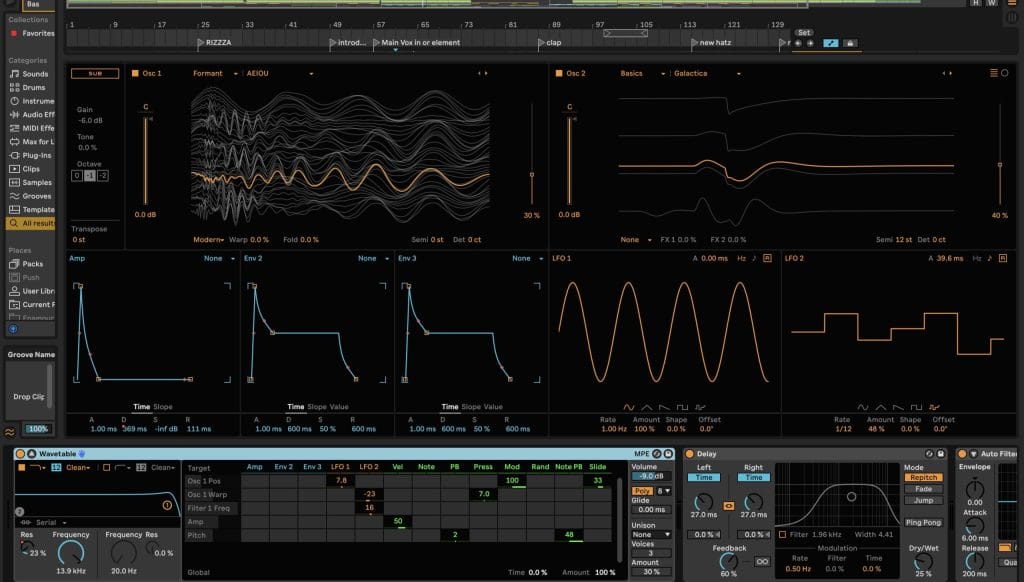
Ableton stock plugins often get a bad rap, but Wavetable is one of the most versatile tools in the suite. It can handle everything from classic saw waves and square synths to gritty, distorted tones and highly complex sound design. Each preset includes selectable formants, and with two oscillators, assignable envelopes, and LFOs, you can shape hundreds of unique sounds. The streamlined sub-menus make it easy and fun to use – without the steep learning curve that often comes with more complex digital synths.
For this track, I used Wavetable’s AEIOU preset to create the secondary lead that carries a robotic, vocal-like quality. By modulating the Resonance and Decay in a way that contrasted with the main lead, I was able to add texture and variety – ensuring the B-side didn’t feel like a carbon copy of the A-side. The result was a bouncier, more dance-driven energy that really lifts the track.
I’d highly recommend Wavetable for creating sub-leads or adding extra layers to enrich your main leads. It’s also perfect for building those glitchy, robotic vocal textures (without using vocal samples) that are so common in Indie Dance – especially using presets like AEIOU, AhOohOh, Real Voice, and Voice Harmonics.
Long Tape
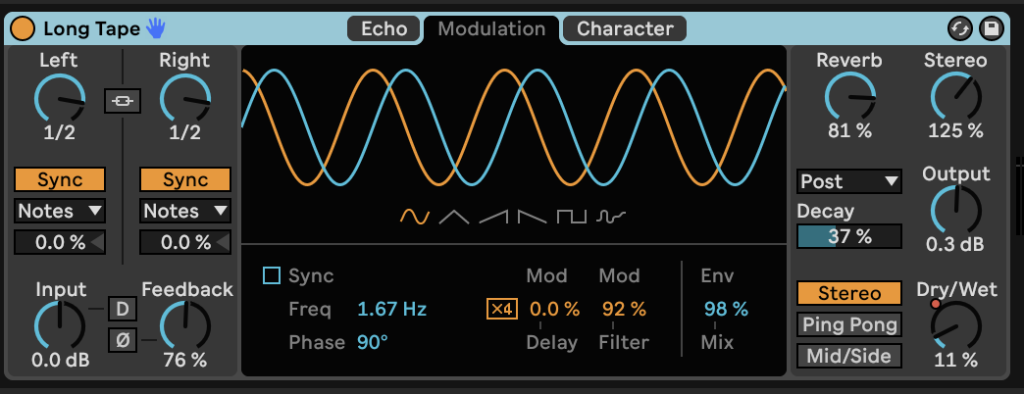
Long Tape is one of Ableton’s stock reverb plugins, and while many producers lean on multiple third-party reverbs, I find this one gets the job done perfectly for certain elements. It creates a wide, space-echo character that shines on vocals and big buildups without overcomplicating the chain.
I used Long Tape on my vocals because the French-Creole lyrics already carry an otherworldly feel – the reverb amplifies that quality, letting them bloom across the mix while still holding their own against the punchy lead synths. To keep the effect from muddying key elements, I modulated the Dry/Wet parameter and paired it with an Auto-Filter, which helped shape a more dramatic, all-encompassing presence.
That said, Long Tape can easily blur elements if pushed too far. With careful modulation and restraint, though, it’s capable of producing striking, atmospheric results – especially when used on vocals.
Quick Fire Tips for Making Indie Dance
Tip #1: Less is more! Sometimes when I tend to add too many elements, the project gets inundated and takes away from the groove. If you have a few solid, key elements, just focus on working on what will make them shine in arrangement.
Tip #2: Reference tracks have really helped me in my production journey. If you’re just starting out, it’s nice to put a reference track in your project and then add markers at the top of your DAW to show where buildups happen, vocals come in, etc., and it helps familiarize yourself with what the timing will look like in other songs.
Tip #3: Listening without looking is key. I always find myself looking too deeply at the elements in my DAW when playing back a project & it causes me to hyperfixate on each element rather than the context of the track, especially when working on something for a long time. Turn down the brightness on your computer, export the file and listen to it in your car, or just walk away from your computer. It’ll help you listen to the song as a whole and find what you need to fix or add way more easily.
The post How It Was Made: Soraya – Danse de L’amour (Realm Records – Indie Dance) appeared first on Magnetic Magazine.