


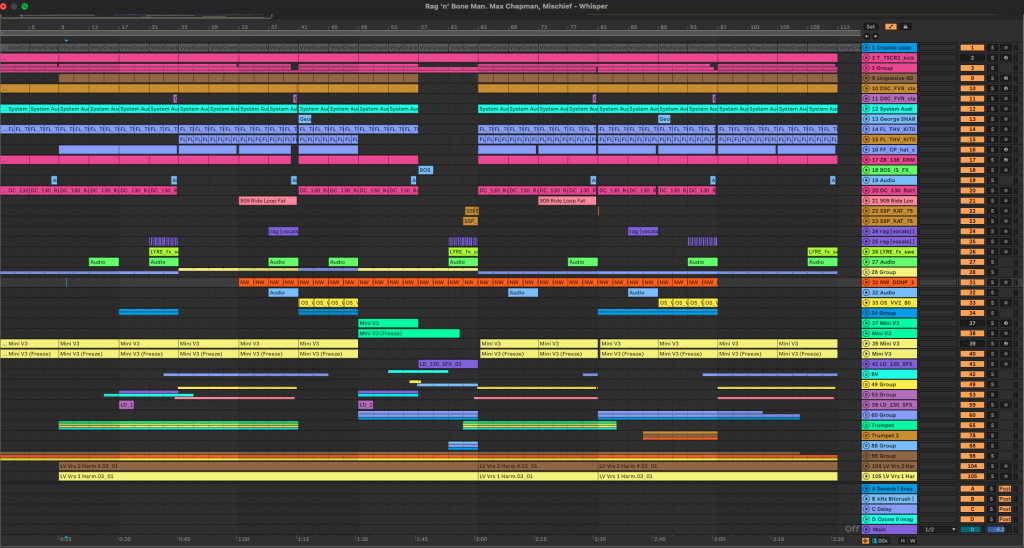
Rag’n’Bone Man’s unmistakable voice has always carried a weight that cuts through any genre, and with “Whisper,” he steps into house music alongside Max Chapman and Mischief on Defected Records. The collaboration feels natural, built on years of friendship and shared roots between Rag’n’Bone Man and Mischief, and anchored by Chapman’s precision in the studio. What began as a simple piano voice note turned into a tightly focused record designed to move dance floors without losing the character of its vocal centerpiece.
The team didn’t hold back when it came to tools and technique.
From the smooth low-end of Rob Papen’s SubBoomBass 2 to the space-shaping capabilities of Lexicon’s LexHall reverb and the stereo movement of Waves’ Brauer Motion, every element was chosen with intention. Their approach shows how the right combination of plugins and workflow decisions can take a raw idea and transform it into a record that hits with clarity and control.
In this feature, Max Chapman and Mischief walk us through the production of “Whisper,” sharing the exact plugins, techniques, and small mix details that gave the track its shape. For producers, it’s a rare look inside the session of a collaboration that blends major-label vocal power with underground house expertise, all under one of dance music’s most respected imprints.
SubBoomBass 2 by Rob Papen
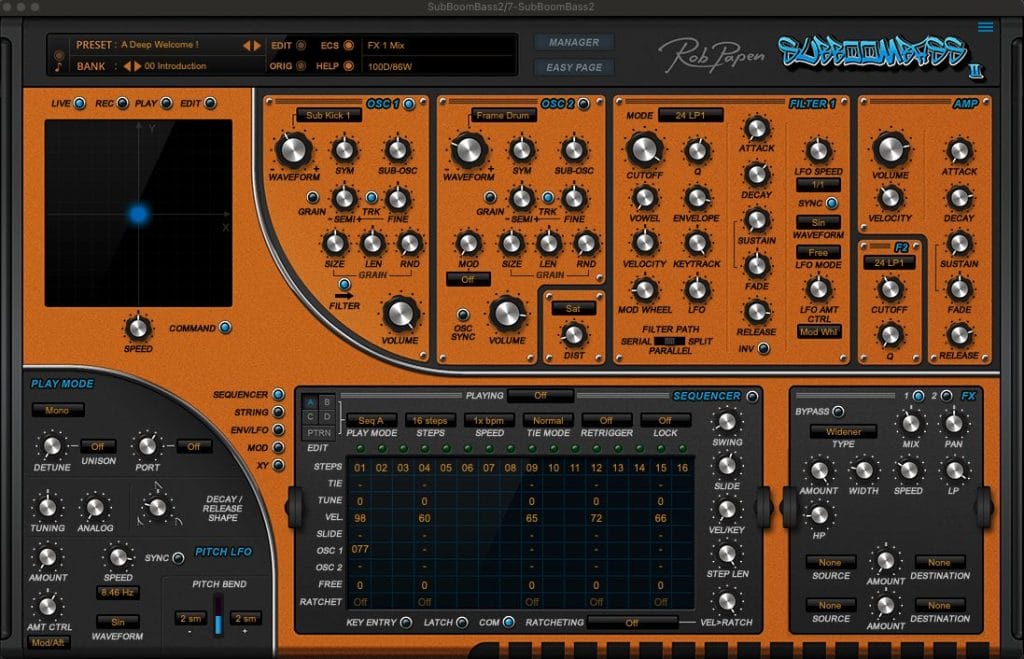
Rob Papen’s SubBoomBass 2 is an extremely diverse yet simple to use VST. The preset list is extensive so makes it a great go-to plugin for quick ideas and finding sounds that fit the track you are working on. The built in sequencer and XY pad are brilliant features to get a groove going with automation and effects.
For Whisper, we looked no further than the “Deep Welcome!” preset. It was exactly what we needed for the track, a smooth, rounded 808 style sub bass which we programmed manually with midi. We didn’t have to make many adjustments as the sound was already close to what we wanted. We adjusted the release to shorten the notes, brought down the filter cutoff a bit and gave it some saturation on the distortion dial. A quick bit of EQing, side chain compression and it slotted into the track nicely. Sometimes its the first preset you hit that works the best, sometimes you can be tweaking for hours!
SubBoomBass is widely used by house music producers due to its simplicity to use and arsenal of bass presets. One thing that is fun to play with is the sequences, there’s some wicked stuff in there, anything from drums to synthy sounds, you can get some really cool ideas going very quickly and easily with this function. Add to that the XY pad for some cool effects, some automation on the filter, release etc and it makes for some fun production.
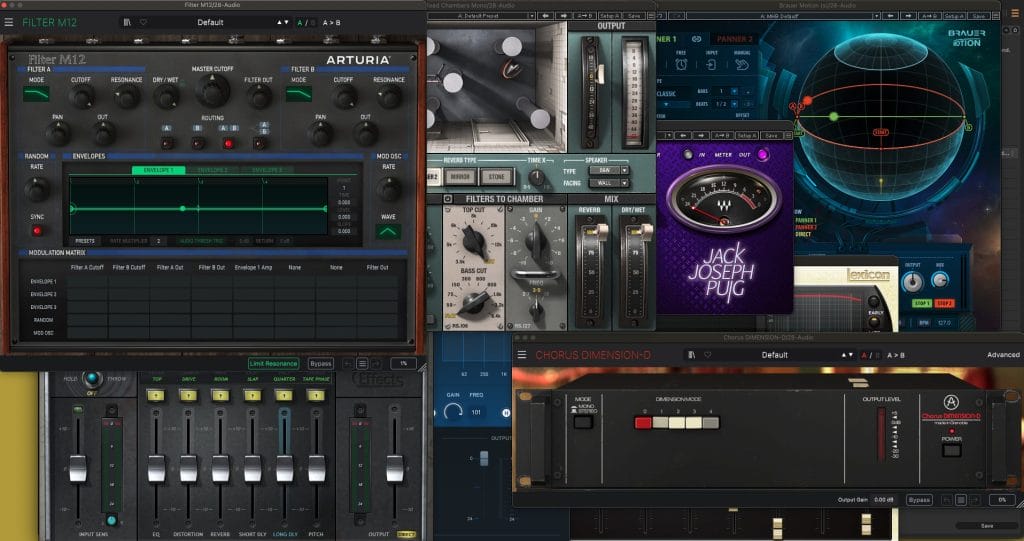
LexHall by Lexicon
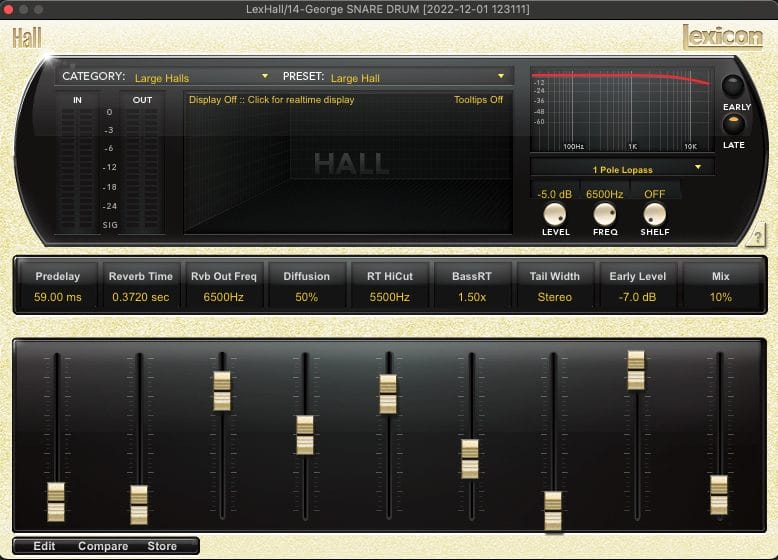
This is our favourite reverb and we use it all the time. As the name suggests its a hall reverb so has a very big sound but give it just enough on the mix parameter and it can be used for tight, blended, textured sound.
For this track we used it on everything that needed reverb. We like to have a separate instance of the plug-in on each channel rather than on a sendreturn. This gives you more control over the mix of each sound and helps stop the build up of unwanted frequencies when all the sounds are reverbed on the same setting. The drum elements get between 2-7% on the mix and vocals and instrumentation get somewhere around 10%. We changed the reverb time accordingly depending on what the sound is, drums would be less to keep them tight and we brought it up to make sounds such as guitar bigger giving it more space ins the mix.
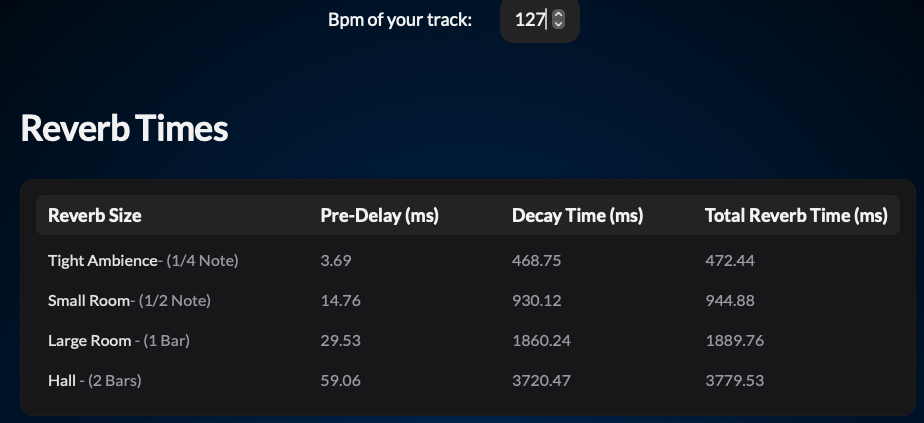
One thing we always do with reverb is use a reverb – delay calculator. These can be found online with a quick search. It gives you the optimal reverb to the BPM you are working on which helps keep the mix clean whilst making more sense to your ears. By all means make adjustments to suit what you are doing but its a good starting point.
Automating the mix is a great effect which can be used during a breakdownbuildup. We would usually pick a drum sound, lets say the clap and automate the mix up to the drop. This creates tension and movement. A great tip is to cut the mix back down just before the drop to dry up the sound, this will create more impact when the track comes back in.
Brauer Motion by Waves
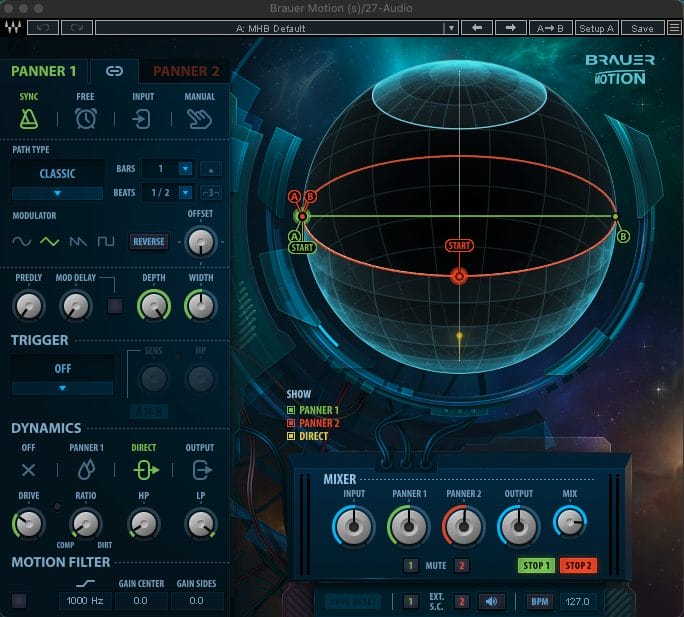
This is a very cool auto panning plugin. With endless combinations, you can create some wicked effects with it but at the same time you can keep it simple and just add small amounts of movement. It has 2 panner sections which you can set individually which is brilliant to ping different parts of one sound around the stereo field.
With ‘Whisper’ we used it on the risers to give them extra movement and a bit more clarity. Moving the sound from one side to the other gave it some extra life and allowed the sound to be heard in the mix. We adjusted the default setting with both panner sections so they weren’t too extreme on the left and right, brought down the mix to a nice blend and dropped the drive a bit to make it smoother.
Brauer motion can be used on any sound you like, go easy with it for a bit of interesting movement or push it right up to get some phaser type effects. Using it on a glitchy percussion loop is a must! All the sounds will be pinging around you’re head and will turn a stale loop into something very spectacular. It works really well for background textures too, something that might normally get lost in the mix will just be poking its head out on the sides from time to time to let you know its still there.
Tips For Making Defected-Style House Music
Tip #1 Simplicity is key and less is more. Don’t start adding 10 plugins to a channel, it’ll be confusing and most likely unnecessary.
Tip#2 Sample choice. Take your time digging for the right samples. You can spend hours trying to tune or layer a clap but 20 minutes searching in the right folders can get you an instant fit.
Tip #3 Wewould say 70% of our productions use Ableton stock plugins. Learn them inside out and it will give you the knowledge you need to transfer onto the third party ones. There’s some cool fun stuff out there but its useless unless you know the basics.

Tip #4 Referencing. Use 1-2 of your favourite tracks to compare mixes. Pay attention to where the reverbs and delays are and what level the vocal is.
Tip #5 For us its all about the groove, adding a loop, manually adjusting midi or using a groove pool to give you swing is a good way of getting a track moving in the right direction.
The post How It Was Made: Rag ’n’ Bone Man, Max Chapman, Mischief – Whisper (Defected Records. House) appeared first on Magnetic Magazine.