Table of Contents
Nothing in music or production happens in a vacuum. The magic of it all lies in how everything interacts—whether it’s harmony and melody or the plugins you’re using to mix. EQs and compressors behave differently depending on their order, and saturation hits differently at the front of the chain versus the back. The more you understand these interactions—how they work together or clash—the better you’ll get at bending the rules for unique, interesting results. But it all starts with the basics.
In this article, we’ll get specific about the ideal placement of EQs in your processing chain. Place them too early, and your signal might end up thin. Place them too late, and it could sound damp and lifeless. The key is using EQ creatively to shape and control your sound exactly the way you want.
If you’re new to EQ, Native Instruments has a great deep dive to get you started. Treat this article as your next step—practical tips to take your EQ game further.
What Is Signal Flow?
We can’t dive into this without first talking about signal flow.
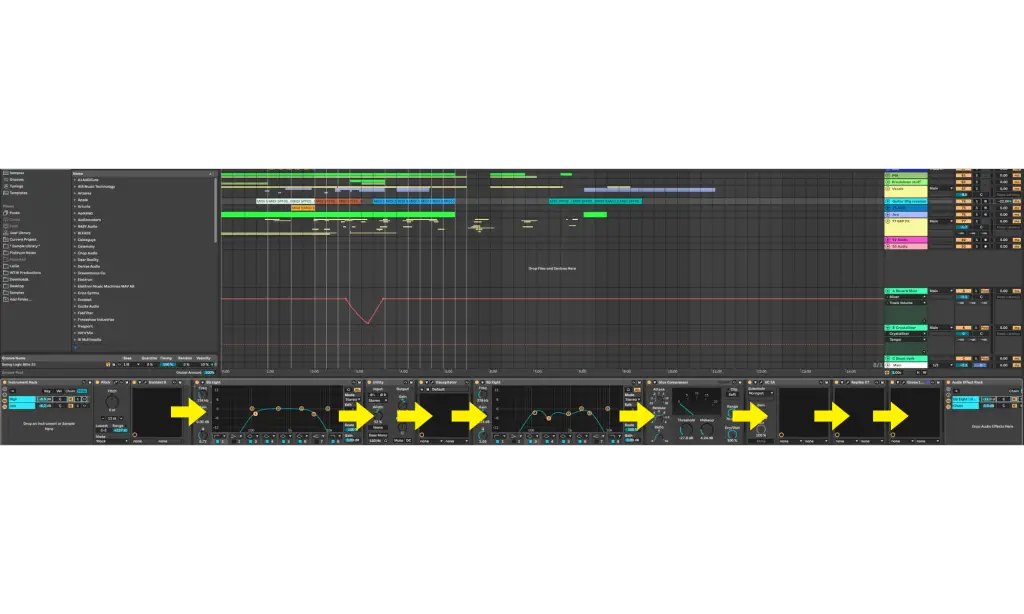
Signal flow is the path your audio takes through the processing chain—how it’s routed and how each plugin in the chain interacts with the source audio. EQ plays a central role in this process and in shaping the sound itself. Its placement in the chain—whether you flip it, resample the audio, or stack it with other tools—affects the final result in big ways.
EQ serves a lot of purposes in signal flow. It can cut broad frequency ranges, like removing the low-end rumble often picked up by mics or dialing out high-end hiss from ambient noise, leaving you with a clean upper midrange. It’s also useful for targeting narrow frequency bands—those subtle, unwanted tones that might not stand out at first but become obvious after compression. EQ after compression can tame these problem areas and bring clarity.
Ultimately, EQ is about defining and shaping your sound from the ground up. Where you place it in the chain matters, and each stage can serve a different goal. That’s exactly what we’re about to dig into—how EQ placement affects the mix and helps you get the results you’re after.
Section 1: EQing Early (Before Compression)
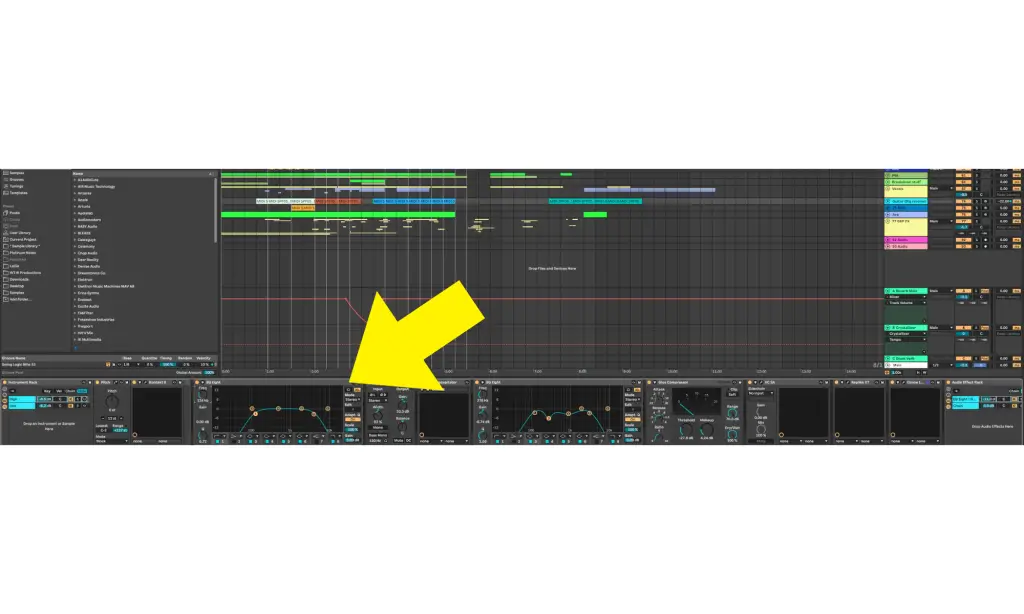
Placing an EQ before a compressor in your signal chain helps tackle problems before they even hit the compressor. Since compressors are input-dependent, they react to everything in the source signal. If there’s unwanted noise—like low-end rumble from vocals or ambient room noise—it’ll affect how the compressor works. Instead of controlling the core elements of your sound, the compressor ends up reacting to frequencies you don’t even want in the mix.
To avoid this, I recommend starting with a bracketed EQ (like the EQ being pointed at in the image above): gentle slopes to cut out unnecessary frequencies in the source signal. In Ableton, I keep a default audio track set up with this exact type of EQ for this purpose. Most of the time, I’m cutting out low-end rumble that might not be noticeable through speakers but can add up and muddy the mix. Even a few decibels of this low-end buildup can wreck your clarity, kill your punch, or make your mix feel brittle.
Using an EQ right at the start cleans things up and sets the stage for detailed moves later, like saturation, reverb, or precise EQ tweaks—all of which we’ll cover later. These broad strokes not only clear out unwanted frequencies but also help define where the instrument will sit in the mix. It’s a simple step that can make all the difference.
Section 2: EQing After Saturation but Before Compression
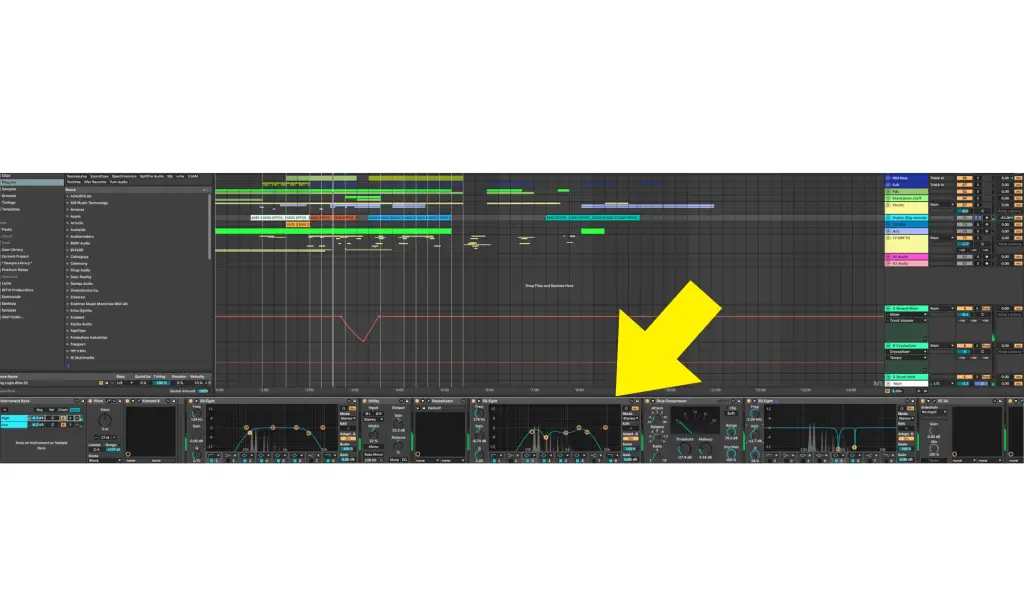
After the initial EQ, I usually add warmth and coloration to the signal with saturation or distortion. Digital samples and synth presets often feel too clean or sterile, so adding harmonic excitement mimics that analog warmth we associate with professional mixes. Saturation helps “chunk up” the sound, adding richness and depth.
That said, saturation plugins naturally introduce extra frequencies—some useful, some not. This is why I follow up with another EQ to tame the harmonics and shape the tone. At this stage, I focus on smaller EQ moves, cutting or boosting by just 2–5 dB to refine the sound. It’s less about broad strokes and more about dialing in the character of the signal before it hits the compressor.
This step ensures the bracketed and saturated signal has clarity and focus, giving the compressor exactly what it needs to work its magic.
Resonances
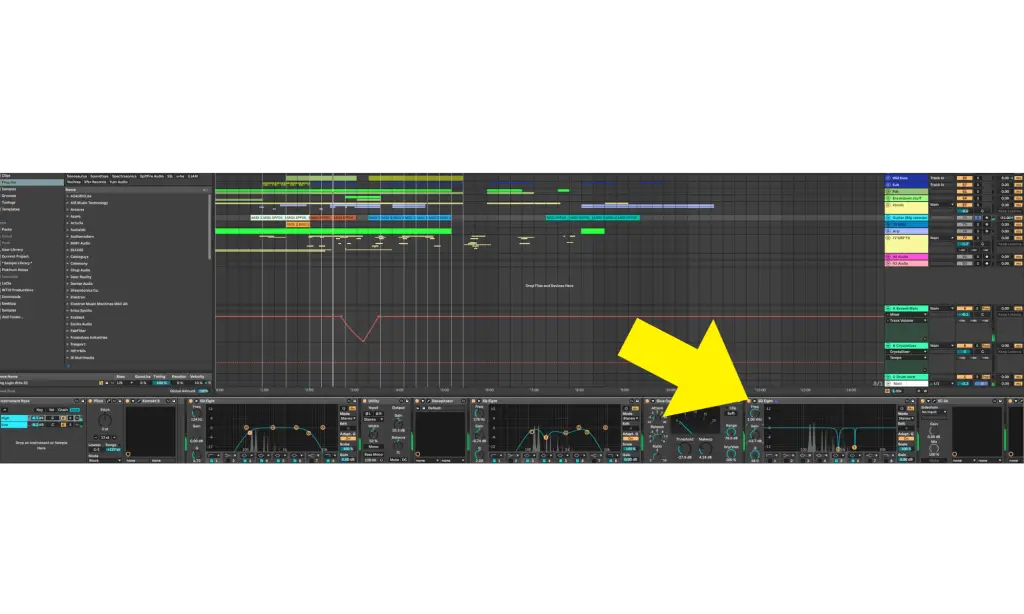
At this stage, I add a new EQ insert specifically for finding and removing resonant frequencies. Unlike the previous EQ, which focused on tonal shaping and taming warmth from saturation or distortion, this one is all about precision. Using a surgical EQ with high Q values, I notch out those sharp, ear-piercing spikes that could otherwise ruin the mix.
Why now? Because compression is up next, and compressors tend to exaggerate resonances. Subtle spikes that seem harmless pre-compression can become glaringly obvious once gain reduction is applied. By addressing them now, you’re setting yourself up for smoother, more controlled compression.
This approach also lets you drive the compressor harder without unwanted artifacts. The result? A punchier, more consistent signal with fewer surprises in the mix. By taming those random resonances early, you get a cleaner, more musical outcome overall.
Section 3: Using Analog Emulation EQ Post-Compression
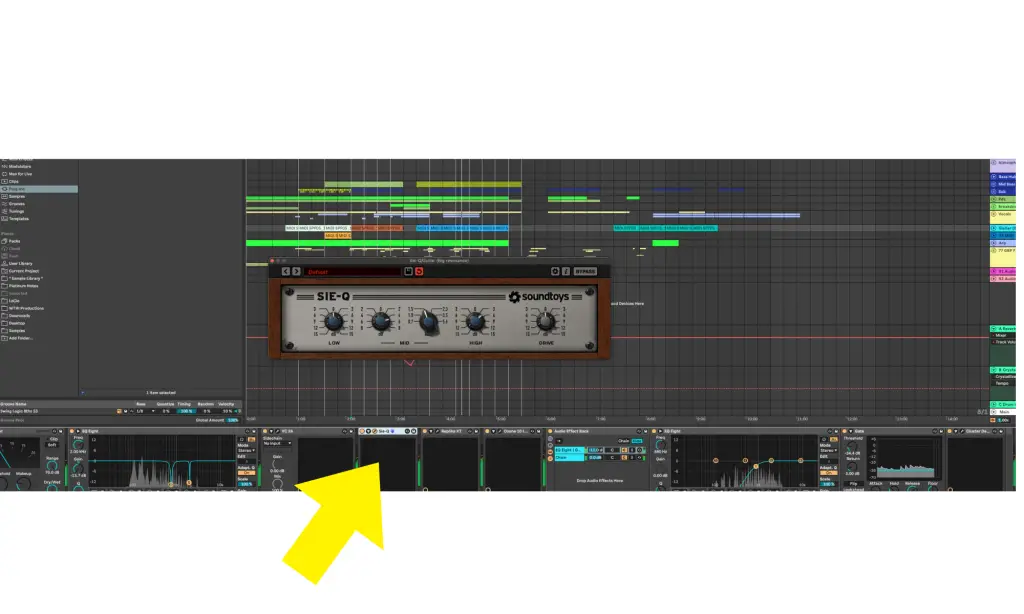
By now, the sound has been carefully carved and shaped so that only the best frequencies make it into the compressor. The compressor glues these elements together, creating a cohesive signal. This is the perfect stage to bring in analog emulation EQ.
Unlike digital EQ, analog emulation EQs are inherently more musical in how they shape sound. For example, boosting 10–15 dB with a standard digital EQ often results in a brittle, sterile tone. Analog emulation EQs, however, handle heavy-handed adjustments much more gracefully, adding warmth and character rather than harshness.
At this stage, you don’t need to go overboard. Subtle boosts with analog emulation EQ can bring out warmth, roundness, and vibrancy in the sound. It’s a great way to enhance the frequencies you’ve already refined, adding one final layer of musicality and saturation to bring the sound to life.
Bonus Section: EQing Your Effects
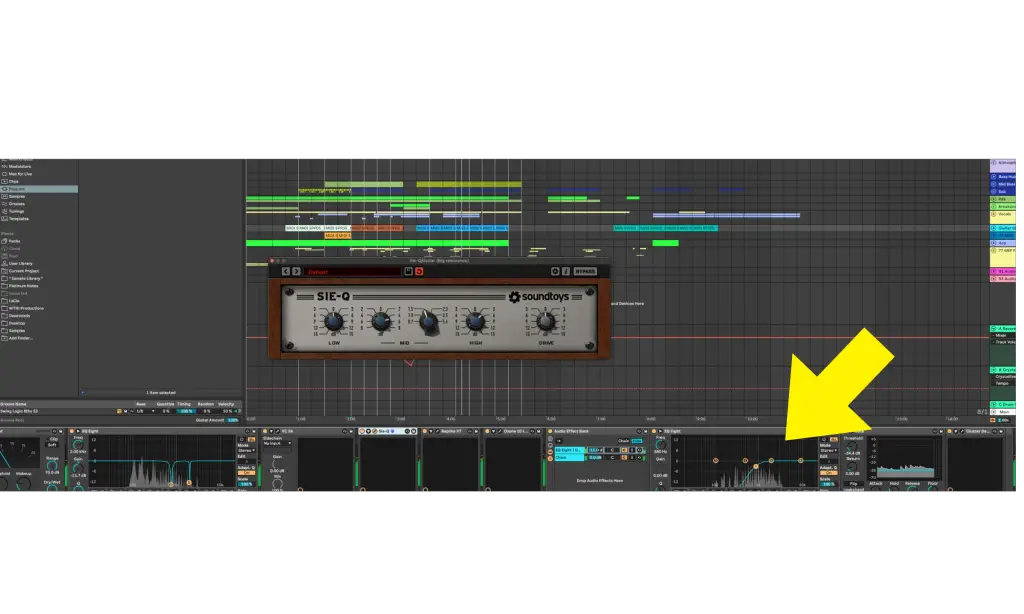
At this stage, the sound has been refined into exactly what you want—warm, gritty, and full of analog-style bite. After using saturation, taming unwanted frequencies, and applying analog emulation EQ, anything you send into effects like reverb, delay, or modulation will already be the best version of the signal.
This matters because effects like reverb and delay take up a surprising amount of room in the mix. If even a small amount of unwanted frequencies sneak into these effects, they can compound and create chaos in the mix. By doing the groundwork earlier, you’re already set up for success. But you can take this even further by EQing your effects themselves.
If you’re using reverb and delay on auxiliary buses, treat those effects like instruments. Shape them with EQ—cut highs and lows, tame resonances, and adjust tonal characteristics. Don’t rely on presets; fine-tuning these effects can take your mix from decent to incredible.
For an advanced tip, use a frequency analyzer with a digital EQ (Ableton’s stock EQ works great) to tune the reverb. By cutting frequencies around the root note of your track, the reverb nestles perfectly within the key and scale of your song, creating a musical foundation.
Wrapping It Up
Let’s be clear—these aren’t hard-and-fast rules for every track or mixdown. There’s no magic bullet in music production, and there never will be. What I hope you take away from this is a set of actionable ideas to add to your toolkit. These tips are worth experimenting with and can serve as a framework for how and where to place EQs, so you’re not just blindly throwing them into your chain and unintentionally thinning out or over-brightening your sound.
The key is intentionality. Every EQ, every insert, and every adjustment should serve a purpose.
The more deliberate you are in your approach, the faster you’ll develop the confidence to break the conventional rules and carve out your own sound as a producer and mix engineer. It’s about using these tools to work for you, not against you, and ultimately, shaping a mix that feels authentically yours.
The post Where To Place An EQ: A VERY Specific Guide To Processing Chains appeared first on Magnetic Magazine.


