Table of Contents
Let’s be real—EQ is one of those tools that everyone talks about, but few actually master. When I first started producing, I made every EQ mistake in the book. It wasn’t until years (okay, maybe decades) later that I realized how much of a difference small tweaks to my approach could make. So today, let’s talk about nine of the most common EQ mistakes new producers make and how you can avoid them. Trust me, your mixes will thank you.
So today, let’s talk about nine of the most common EQ mistakes new producers make and how you can avoid them. If you think you’re still at the noob stage of mixing, I highly recommend you read Native Instruments’ recent blog post on EQ 101 for a solid overview. Once you’ve got the basics down, this entire article about avoiding mistakes will probably make a LOT more sense.
But let’s get started.
Boosting Before Cutting
This is the classic rookie mistake.
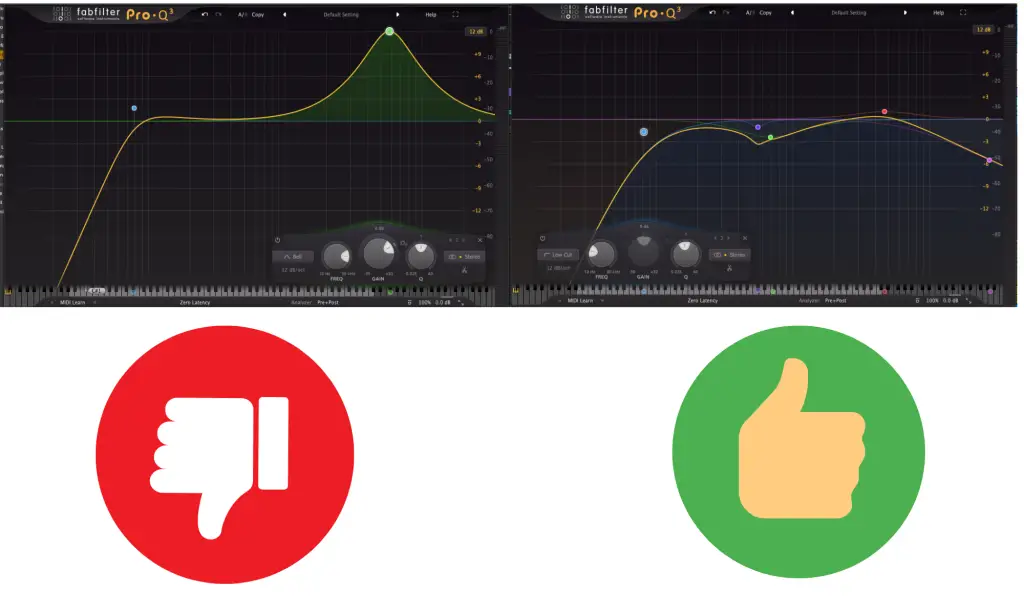
Boosting feels good—you’re adding energy, making things louder, and it’s immediate. But here’s the problem: boosting a frequency often clogs up the mix, especially if other instruments are fighting for that same space. Instead of jumping straight to boosts, start by cutting frequencies you don’t need. For example, if your kick feels weak, don’t just boost the low end. Try cutting some muddy mids instead—it’ll make the low end stand out naturally.
Boosting, especially with digital EQs instead of analog-emulation EQ plugins, rarely leads to a very musical result. Adding frequencies, especially if you’re adding more than 3-5dB, oftentimes degrades the signal and gives it a strange and, at least to me, offputting tonality. Cutting, on the other hand, retains all the musicality in the sound while clearing up space for the other sounds in the mix!
Think of it this way: you’re carving out space instead of piling on more sound. And if you’re going to boost, use a wider Q value (the width of the boost) to keep things smooth. Sharp, narrow boosts can sound unnatural and harsh.
Overusing EQ in Solo
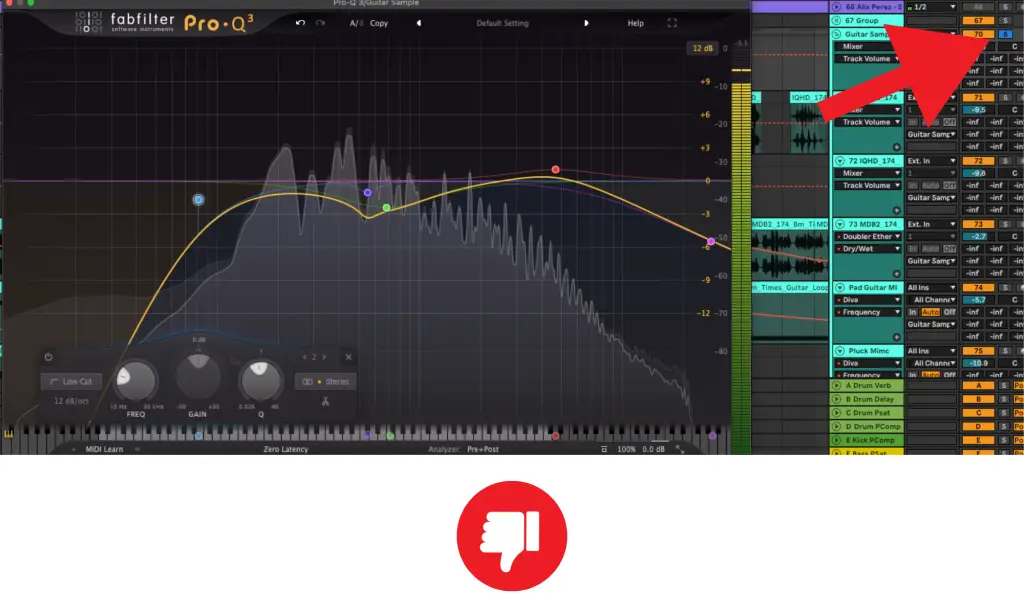
This one gets everyone at some point. You solo a track, spend way too long making it sound “perfect,” then drop it back into the mix… and it disappears. Why? Because EQ decisions should be made in the context of the whole track.
When you EQ in solo, your ears fixate on details that might not even matter in the mix. Instead, keep the whole mix playing and make small, intentional adjustments. If you’re struggling to hear a specific element, turn it up temporarily—but don’t solo it. The goal is to shape sounds so they work together, not to perfect them in isolation. Nobody listens to your kick drum by itself, so why EQ it that way?
Because a mixdown is all about context and you will never be able to fit a sound into the context of the rest of the project if oyu’re in solo mode!
Another added benefit of mixing not on solo mode is that you oftentimes find that you can remove a lot more of a sound that you think you can. In isolation, you might be hesitant to remove that warmth and body in a pad or lead synth because, in isolation, that move removes a lot of what you think is so great about the sound, even if some other element in the mix is also playing that same frequency.
Using EQ Without Intention
It’s easy to slap an EQ on every track out of habit.
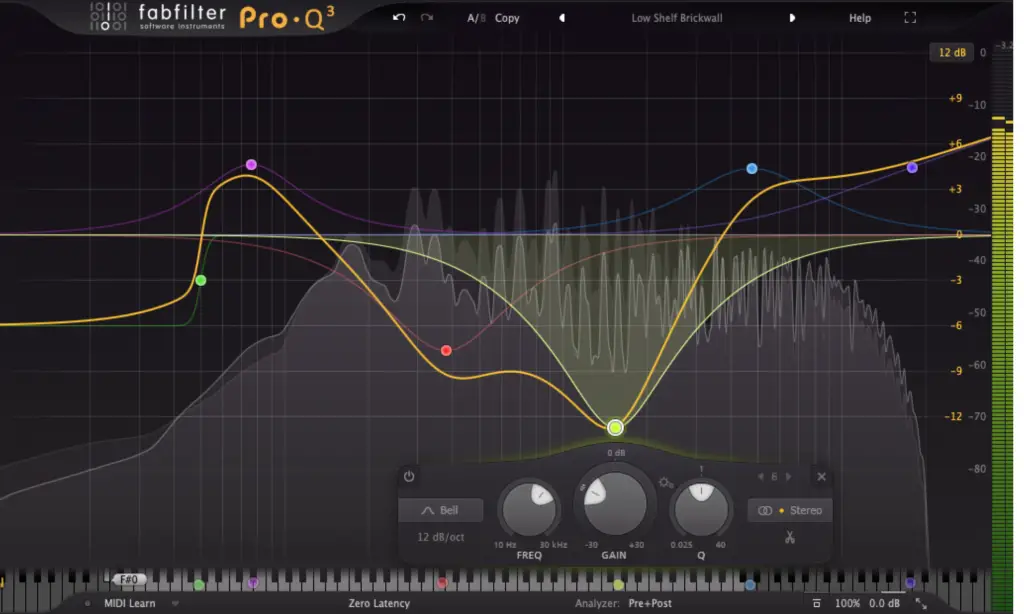
I used to load one up and just start tweaking for the sake of tweaking because I had read tons of blog posts and forums that talk about the necessity to EQ everything. The problem? If you don’t know what you’re trying to fix or enhance, you’re just guessing. That’s how you end up with a mix that’s overprocessed and lifeless.
Before you reach for an EQ, ask yourself: What am I trying to achieve? Maybe the vocal needs more presence, or the kick and bass are clashing in the low end. Whatever it is, identify the issue first, then make deliberate changes. And always compare before and after—if you can’t hear a meaningful improvement, undo it.
Neglecting High-Pass and Low-Pass Filters
If you’re not using high-pass and low-pass filters on almost every track, you’re leaving a ton of unnecessary clutter in your mix. Even elements like hi-hats and vocals can have low-end frequencies you don’t want—frequencies you’ll never hear but will muddy up your mix anyway.
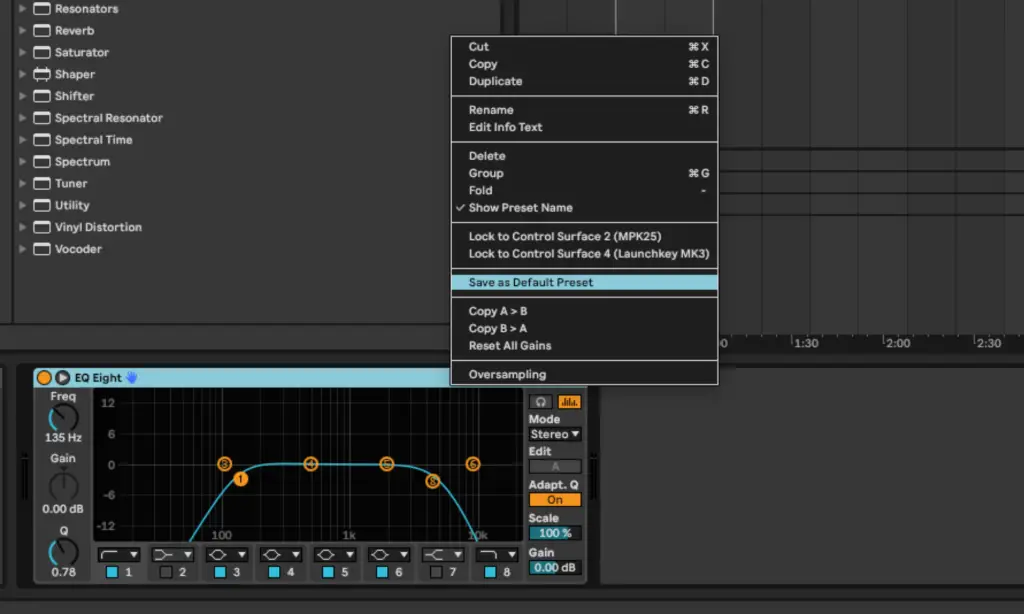
A simple high-pass filter can clean up your low end and create space for the kick and bass to shine. For example, try cutting everything below 100 Hz on non-bass elements. On the flip side, low-pass filters can tame harsh highs on things like cymbals or overly bright synths. These small moves can make a huge difference in clarity.
My default EQ load-up has my EQ cutting everything below around 150 and everything about 8khZ. It takes a ton of time be instantly doing this basic due diligence, seeing as I end up removing those frequencies in about 80% of everything in a project anyways! I highly recommend you do the same.
Relying Too Much on Visuals
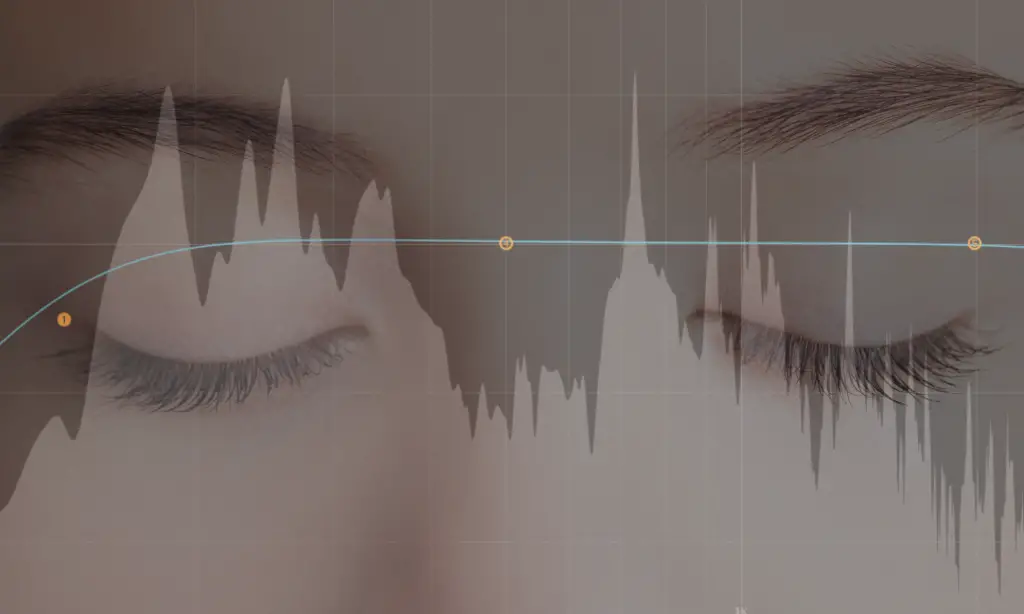
We’ve all been there: staring at an EQ graph and letting it dictate our decisions. While spectrum analyzers can be helpful, your ears should always take the lead. After all, you’re mixing for listeners, not for the graph.
A common mistake is sweeping with a massive boost to find “problem” frequencies. The truth? Everything resonates if you boost it enough. Instead, keep the boost subtle—around 5 dB—and focus on what you’re hearing, not what you’re seeing. Better yet, try closing your eyes while you adjust EQ settings. It’ll force you to listen instead of overanalyzing.
Relying too much on the visual displays of an EQ can also lead to overly precise and surgical results. Training your ears to hear the slightly differences that a few hundred hertz can bring or the tonality a two-decible boost brings to a recording is an invaluable skill to have, so training your ears to hear that and not relying entirely on what the charts, meters, and visualizer are telling you will almost always bring a warmer and more musical result even if that result isn’t “perfect.” It will still sound better, I promise.
Not Volume Matching Your EQ
This is a smaller but sneaky mistake. When you EQ, you’re changing the perceived loudness of a track, and louder almost always sounds better. But that doesn’t mean your EQ changes are actually improving the mix. Always volume match your EQ by adjusting the output gain so the track’s loudness stays the same before and after EQ. This way, you can objectively compare whether the EQ is helping or just fooling your ears.
On the opposite side of this same coin, proper EQing may allow you to turn down the volume of an element in the track which would give you valuable headroom back into the mix. Remember that warmth that we loved in isolation in that synth mentioned above? We likely would have turned up that synth louder than necessary in the mix just to hear that warmth, likely louder than it needed to be as it was fighting for space against the other elements in the mix.
But once something has been EQ’d properly, adjusting the volume so that it’s only as loud as it needs to be to fulfill its intended role in the production can be a game changer. Couple this move with panning, and you may find yourself with a TON of extra headroom.
Overprocessing with Too Many EQs

If you find yourself stacking multiple EQ plugins on one track, it’s probably time to take a step back. Overprocessing happens when you keep making small adjustments to fix issues that shouldn’t be there in the first place. Instead, aim to get as much right at the recording or sound design stage as possible.
A single EQ move, whether cutting or boosting, should solve a specific problem. If it doesn’t, you’re better off going back to the source—whether that’s re-recording, re-sampling, or simply choosing a different sound.
The difference between an amateur mixing engineer and a good one is knowing how to make a sound fit into a mix. The difference between a good engineer and a fantastic one is knowing when to not touch a sound at all in the first place.
Ignoring the Low-Mids
The low-mids (around 200-800 Hz) are where mixes often get cluttered. This range is responsible for warmth and body, but it can also create muddiness if too many elements are fighting for space there.
Pay extra attention to this area when EQing. For example, if your guitars, vocals, and keys all sound murky, try cutting in the low-mids on some of those tracks. This will help the mix breathe and give your low-end and high-end more room to shine.
The better I’ve gotten at producing music and mixing records, the more I am continued to be astonished by just how little space a mix/song really does have (and how much damn space in a mix something like a vocal takes up). Always do your due diligence and remove and scoop out frequencies bands that are conflicting with each other. There really isn’t much room to work with, so anything you can remove or chip away at, especially in the mid range, will pay off dividends in regards to mix clarity and volume in the mastering stage.
Skipping Automation
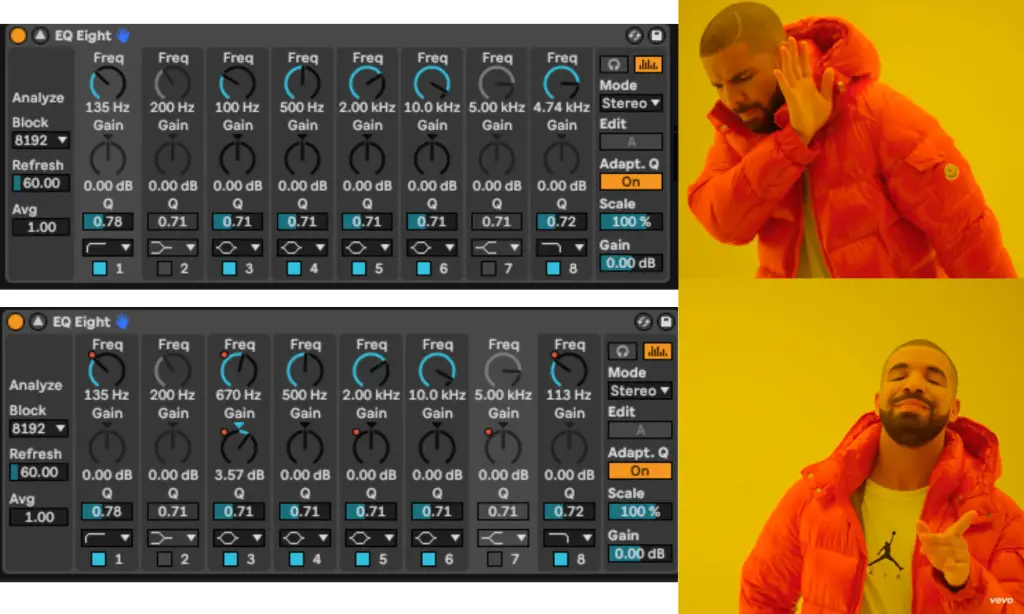
Static EQ settings don’t always work across a whole track. A vocal might need more presence in the intro but less bite in the chorus. Or a bassline might clash with the kick in the verse but sit perfectly in the drop.
Use EQ automation to adapt your mix to different sections of the song. For example, you can automate a high-pass filter to clean up the low end during a dense part or boost the upper mids during a quieter section to add clarity. Automation adds polish and makes your mix dynamic and engaging.
If you really want your music, which I can assume 90% of you are making entirely in the box, to feel alive – like it’s living and breathing – you need to be automating as much as possible. EQ is amazing for bringing things in and out of focus, moving it into startling clarity or background obscurity, and that push and pull, ebb and flow type of vibe, compounded across the entire project, can take a well-mixed record and turn it into an incredible song. This is why I tell me students all the time that mixing is as much of the creative process as it the songwriting itself!
Wrapping Up These EQ Mistakes To Avoid
Wrapping it all up, EQ might seem like just another tool in your DAW, but it’s one of the most powerful ways to shape your sound and give your mixes a professional edge. Every small move matters, and understanding how to use EQ effectively—whether that’s cutting instead of boosting, mixing in context, or adding automation—will completely change the way your tracks come together. Like anything in music production, the key is to stay intentional and listen carefully. Each EQ tweak should have a purpose, and every decision should work toward making the mix feel cohesive.
The mistakes we’ve covered today are ones I’ve personally made and learned from, and I hope sharing them helps you sidestep some of the frustration I went through. EQ is one of those skills that never really stops evolving as you grow as a producer, so don’t stress if you’re still figuring it out. Keep experimenting, trust your ears over your eyes, and most importantly, have fun with it. At the end of the day, the best mix is the one that makes you want to keep listening.
The post 9 EQ Mistakes New Producers Make (And How to Fix Them) appeared first on Magnetic Magazine.


